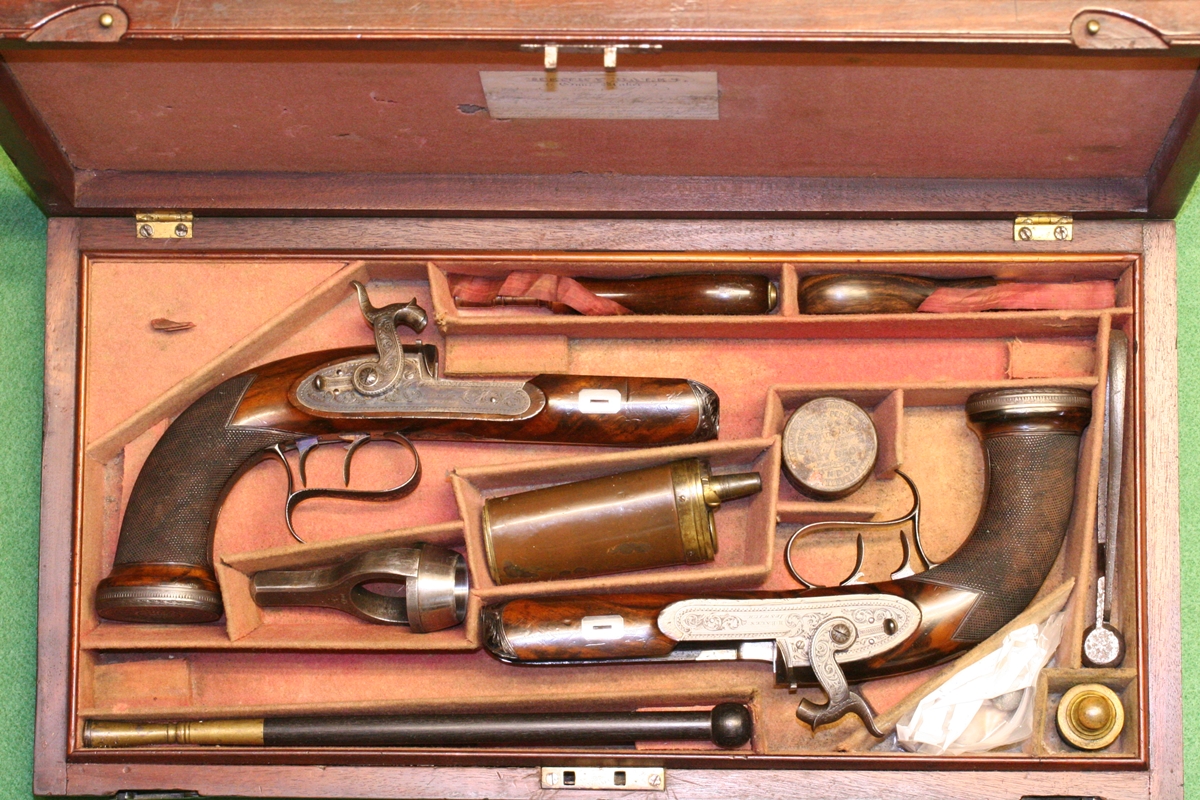
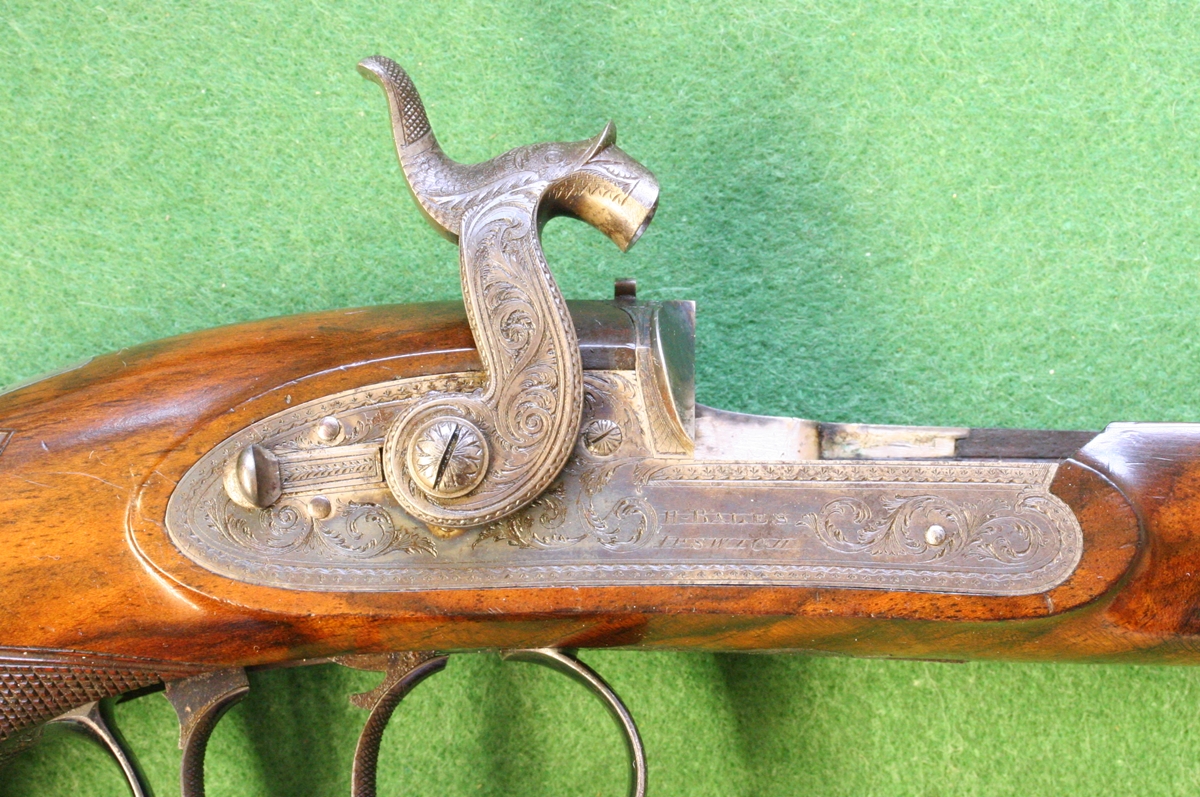
It’s probably wrong to call this a restoration as these pistols are, with one exception, in first class condition.
The bits in need of a little attention are the barrels, which have a little rust and a few scratches plus a couple of pits and have lost most of their browning. I’m not sure how they came to be so bad when the rest of the bits are mint, but it definitely justifies a little refinishing of the barrels. I am doing this refinishing now because I was struck by the softening of the outlines of the lettering on the Westerly Richards barrels ( I suspect the WR pistols are very similar to the Bales, but I only have the barrels) when they were refinished at some time in the past.
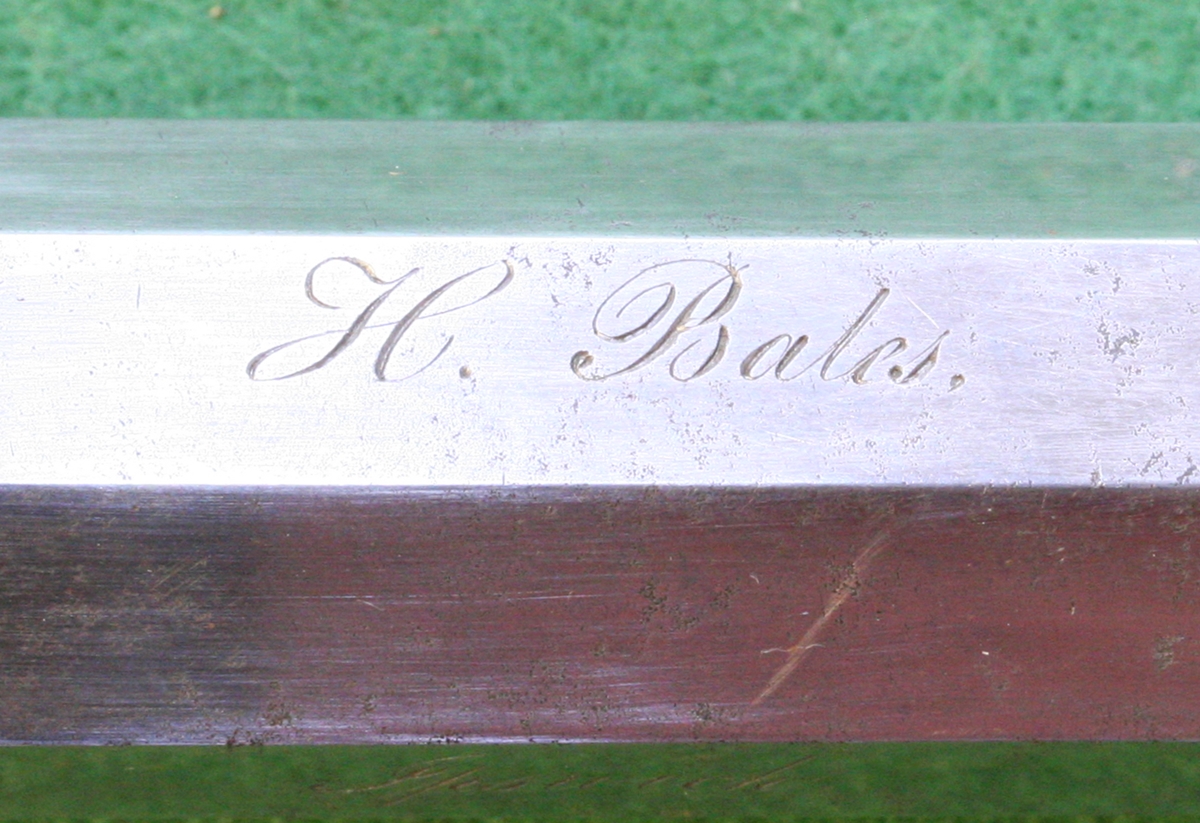
Here is one of the barrels before starting work = there is a fair bit of light corrosion on the barrel surfaces, and some scratching visible round the name .
I am determined to refinish the Bales barrels without any rounding of the lettering profiles. How? I think that the use of any form of flexible abrasive is liable to round corners, even if stuck on to a rigid block of wood etc, and that the only sure way to avoid softening the lettering and the corners of the flats is to stick to using totally rigid ‘sanding’ methods. Here’s what I’m proposing to do;
remove Breech plug.
Derust electrolytically to get rid of some of the old browning and the rust.
Draw file using a new 1/2 inch wide No 6 cut file to remove superficial rust and reduce pitting ( I don’t expect or want to get back to all virgin metal, it takes too long and would remove too much metal. I use the file, held at right angles to the barrel axis either dry or wet – wet probably gives a better finish and doesn’t clog the very fine file so much – a few drops of detergent in water but be careful to prevent rust. You will need to keep checking the file surface to make sure that particles of steel don’t get embedded in the file and score the barrel surface – they may need to be flicked out witht he point of a modelling knife. The barrel ‘flats’ are not generally flat, but slightly domed, so you will have to vary the angle of the file slightly to accommodate the shape of the barrel – but DON’T get anywhere near to rounding off the edges of the barrel. Its not sensible to try to remove all the marks and pits in the case of the Bales barrels as it would remove too much metal!
Having done a preliminary draw filing I am freshening the engraving as its script, and the fine strokes are about to disappear – mostly its a matter of cleaning out the rust from the deeper cuts and very lightly cutting over the finer lines.
Removing draw file marks – the No 6 file leaves very fine longitudinal marks along the barrel – The file marks should be very fine and without any obvious scratches. For finishing I am using several grades of fine ‘sharpening’ stones finishing with an Arkansas stone. Its important to use a small stone as it much easier to make sure it is kept flat on the barrel surface. I’ll flatten the various stones on an old diamond ‘stone’ to make sure they stay flat. I’m still experimenting with the best way to get a really fine finish with this stage – I’m trying using water and detergent as a lubricant, which seems to work but needs a lot of effort! I tried to see what effect 2000 grit paper wrapped round a square stone had – it gives a quick and fine surface to the metal BUT I can see that after even a short rub with the paper I’ve lost the very sharp edges in the engraving that were produced by draw filing and stoning. Its enough to show clearly that using a sequence of grades of paper will produce the rounded edge effect seen on refinished barrels, so for the purpose of this experiment I’ll have to stick to stones!
I’m still experimenting with getting a perfect surface! I have recut the ‘H Bales’ and ‘Ipswich’ script on the barrel – I’m quite pleased as teh script lettering is very fluid, and I’m not very good at it….
I know I’m not going to be able to get rid of all the pits and rust marks in this barrel, but the lettering now looks OK.
Bales barrels ‘struck up’ ready for browning – ends sealed with shellac varnish – Dick is going to do it for me as I’ll be busy next week.
Dick had a go at browning the barrels using Blackley’s Slow Brown but got a uniform dark brown with no sign of the twist, which was very disappointing for both of us! I took them away and put them in the electrolytic derusting, which got them to a good even grey with some twist visible, but unfortunately Dick had rubbed the top surface of one barrel with a bit of 2000 grit to see if it brought up the twist, and it shows as a light patch after derusting, so I’ll have to take all the surfaces down with 2000 grit to get an even finish and then start again with the browning, a shame as I was trying to keep paper off the barrels as an experiment – its a mystery why no twist showed up on browning! – this time I’ll use my ex-pcb ferric chloride solution….
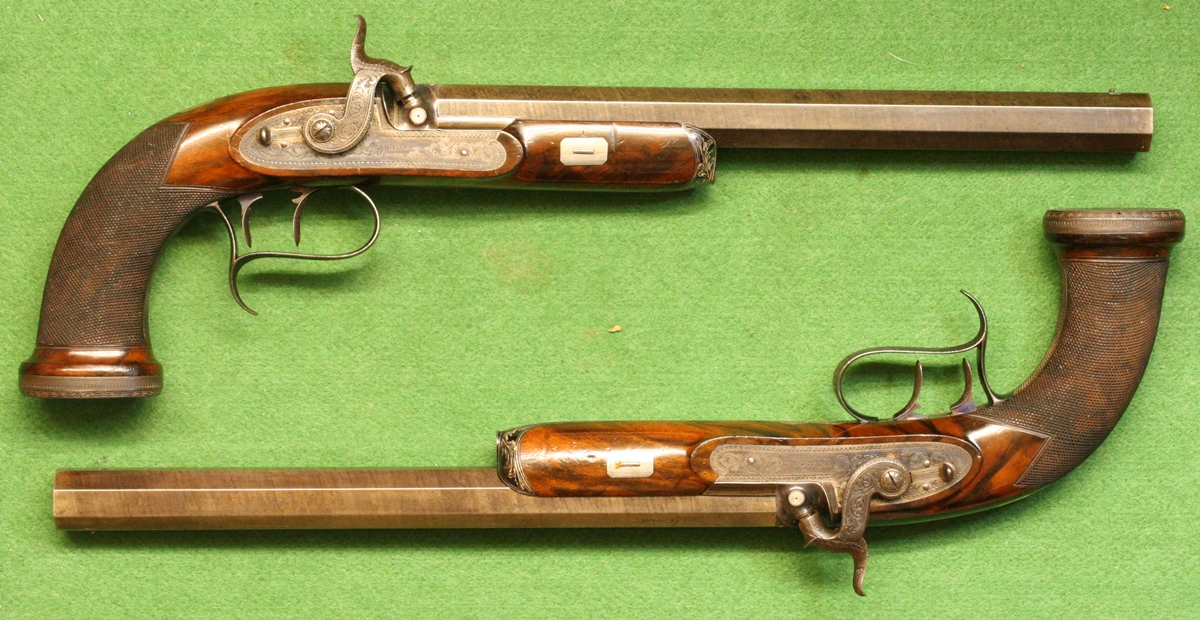
Iv’e now done the rebrowning in 3 quick goes, 1 with my solution and two with Blackley’s, rubbing off with 0000 steel wool and steaming between each rusting. In all it took about 15 hours and I stopped as it was dark enough and I was fearful of getting a dense finish with no figure as happened the first time. It is a nice even colour with a reasonable amount to figure visible. I didn’t polish the barrels to a high gloss before rusting as there is visible rust and slight pitting that I didn’t dare to strike off for fear of taking off too much metal, so the browning has a slightly matt finish that looks quite acceptable – much better than it was. I might try to put back a bit of shine with beeswax some time.
The bottom pistol shows the twist structure well – it is similar on the top pistol, just doesn’t show on the photo, my lighting is poor – I just use the ordinary workshop fluorescent tubes.


