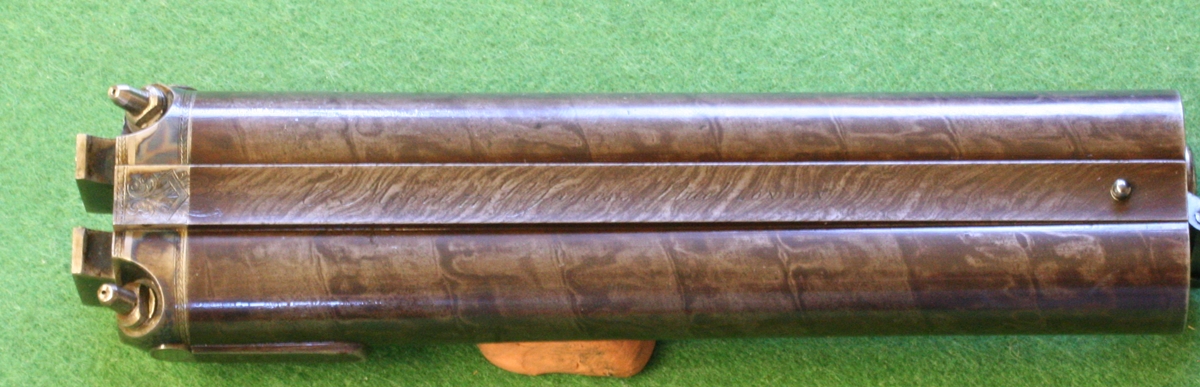
Here is another job that I have taken on – this cased double pistol is immaculate – it looks untouched by human hand – except the barrel engraving that looks as if the barrels have been refinished with a little too much vigour. So I have to work some magic on them….
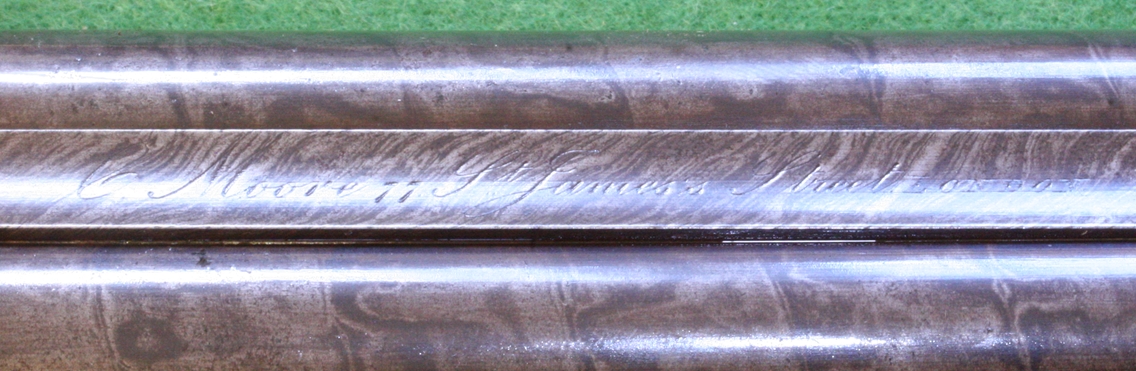
This gives fairly good picture of the engraving – all the thin strokes are there, but only just.
Again it was a skin over rust filling the lettering, so I excavated it with an graver, trying not to cut any significant amount of metal, but getting rid of as much rust as possible – its sometimes difficult to see exactly where the line is, because there is very little contrast between the browned metal surface and the skin over the cuts. The solution is the proceed with great caution – cut the lines you can see before attempting to cut ‘burried’ lines. I tried only to remove the rust, and to avoid the tool cutting into the edges of the lettering as this enlarges the line widths and spoils the rather elegant script. Having got it all done once, I run the lettering under my very fine wire brush on the bench grinder to remove any burrs and very slightly round the edges of the lettering, as well as clean out the remaining traces of rust. A careful inspection at this stage shows up and cuts needing correction, or ‘excavated’ lines that need a bit of genuine re-cutting to fair their curves. The final step is to mix some brown wax with oil and rub it over the lettering and polish it off with a tissue. Its now ready to return to its owner and be reunited with the rest of the pistol.
I’m pleased with this – its becoming something of a specialisation for me!
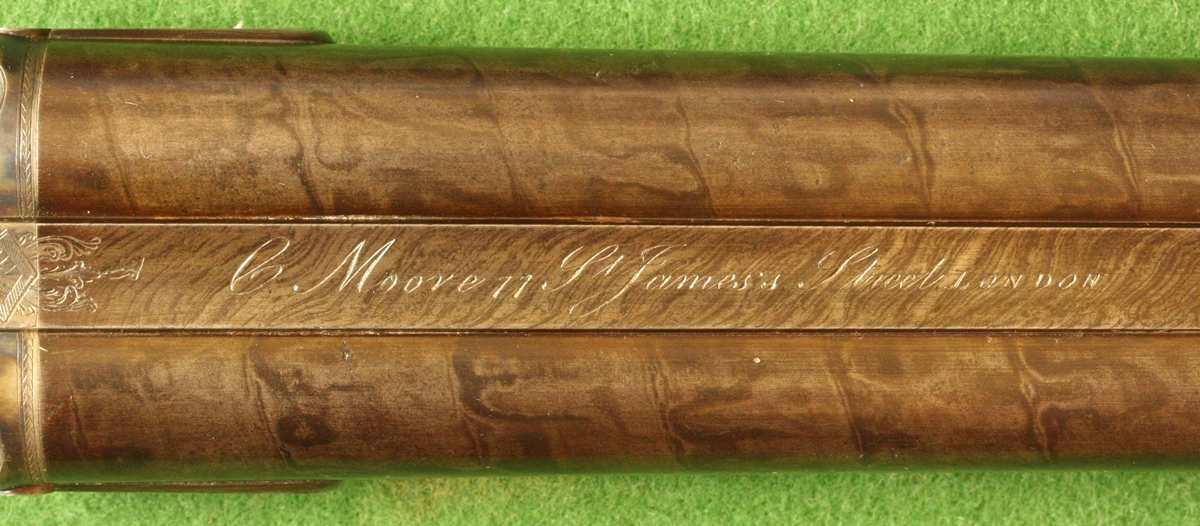
After discussing the recutting with the client, I decided that it was appropriate to tidy up the lettering a bit more and remove some of the rust – the result is that its a bit more like it was originally, and also a better match for the engraving on the rest of the pistol, which is pristine. The recut lettering, of course, shows up a bit bright against the browning, but I was reluctant to try rebrowning within the lettering for fear of marking the browning, so I tried the experiment of using a little dilute Quick blue solution ( Birchwood casey Super Blue was what I had – at least a few crumbs of dried green crystals and a trace in the bottom of the container) using a very fine artists paint brush to apply it sparingly into the lettering cuts. The result was good – it takes the brightness off and leaves the metal a neutral grey that doesn’t really show. You need to be careful not to get solution over the existing browning, or at least quickly wipe it off if you do – I didn’t have any problems with the surrounding browning being discoloured, but I didn’t take any risks! I am not bothering to put up a new photo as the lettering does not stand out as much as in the photo above.