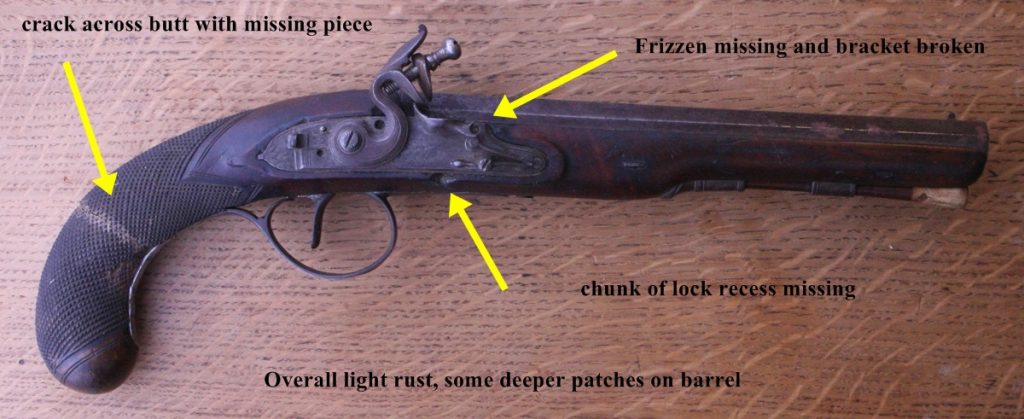
The PARR pistol from Holts Sealed Bid sale was labelled as a 25 bore duelling pistol – used in the broad sense I guess it might have been but I think the description is overworked! Anyway, the hammer price was £320 so by the time I had paid the dreaded buyer’s premium (30%!) and postage it was around £440, which doesn’t leave much of a margin for work, but its a useful exercise and I wanted a start-to-finish job to document as most jobs get some way along before I remember to photograph them. Here is the original set of photos with some annotations ( I apologise for the photo quality – I didn’t use my decent camera) ;-
to continue click …….
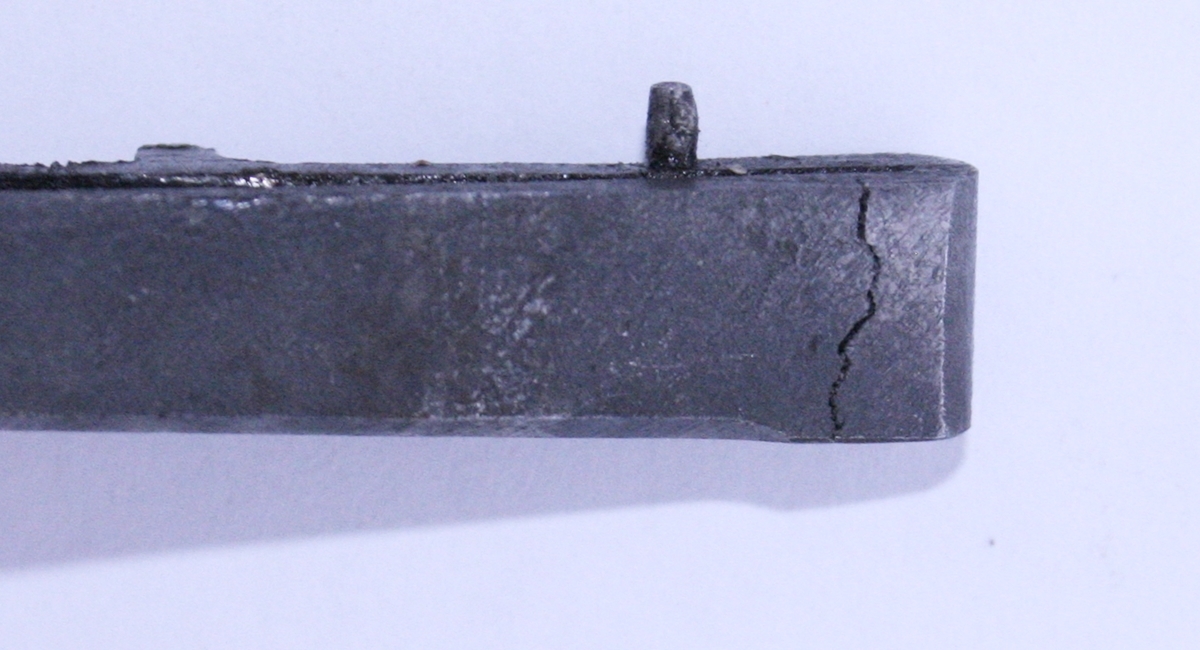
Crack and spurious lock screw are visible here.
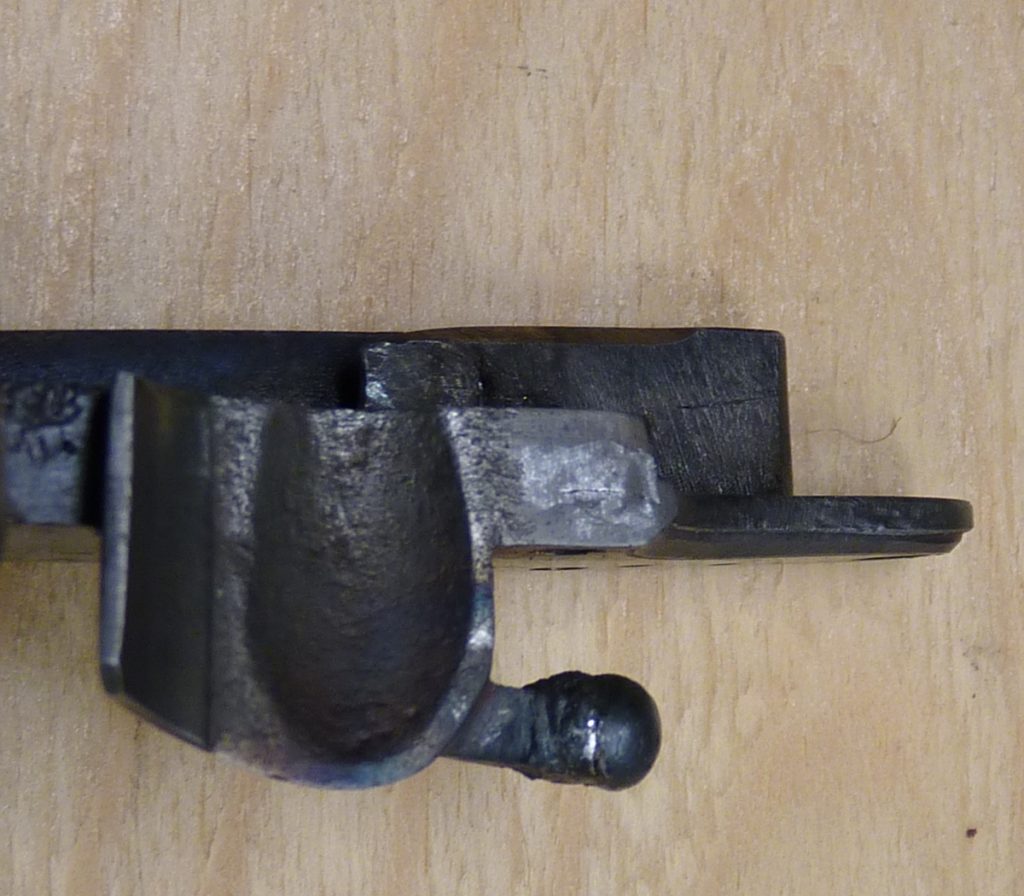
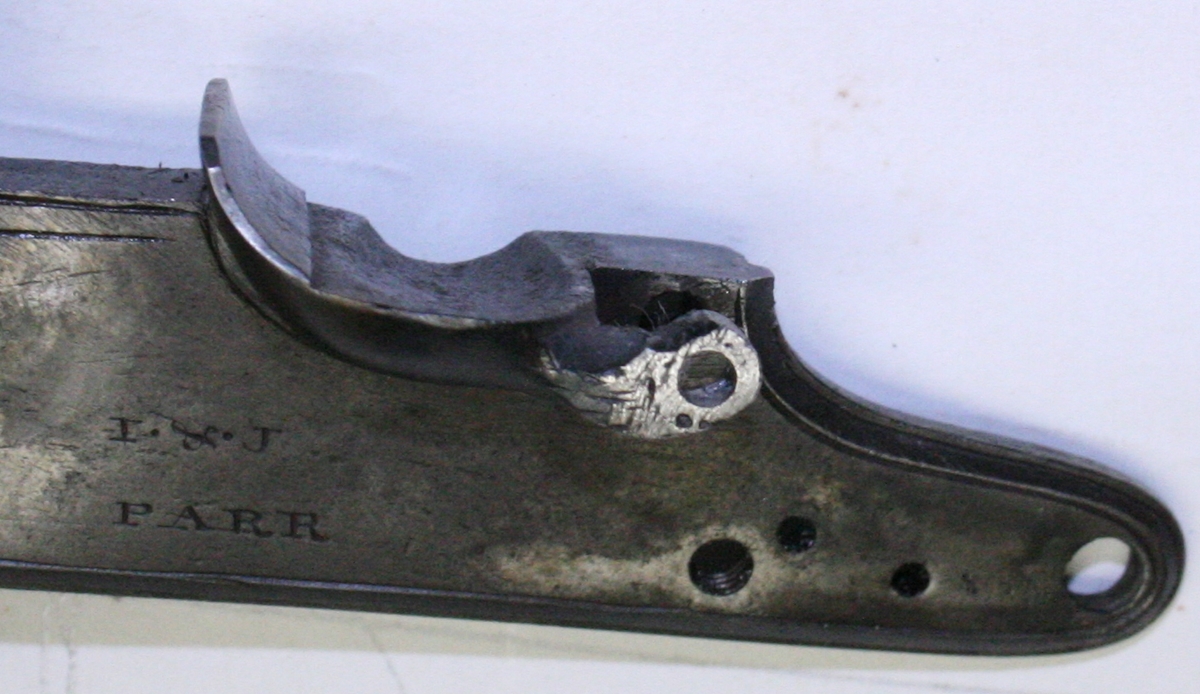
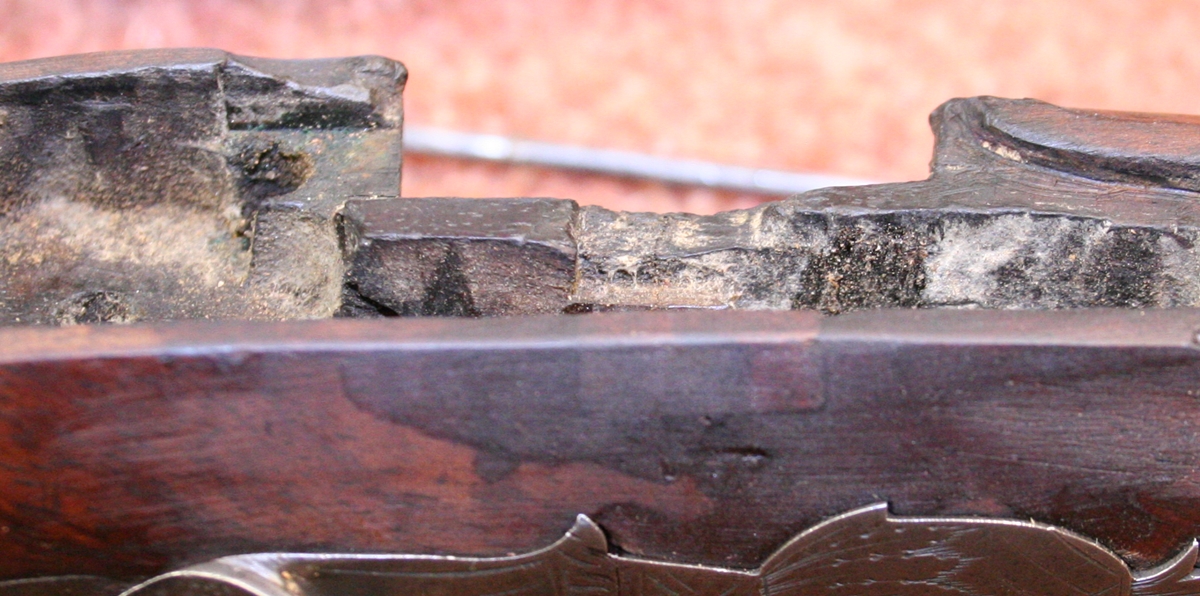
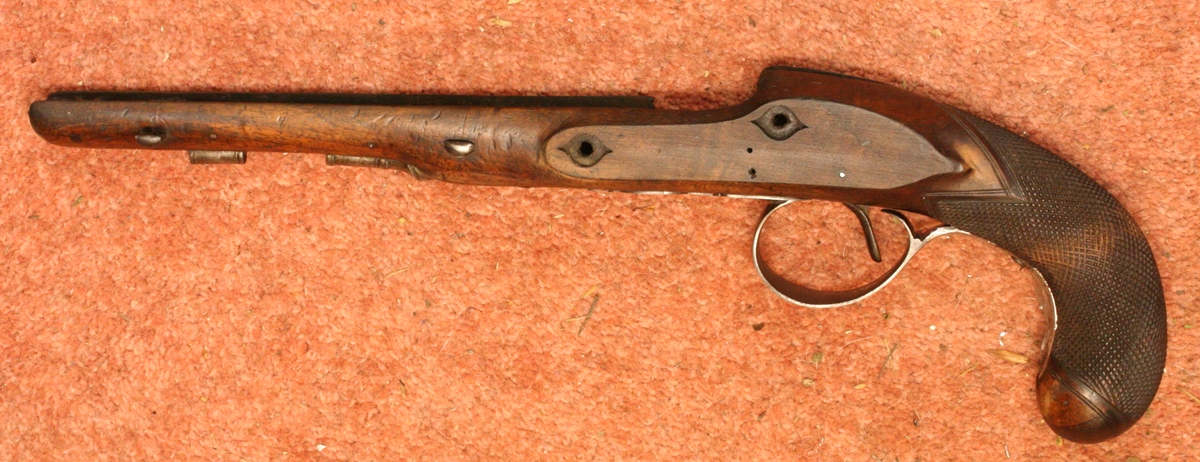
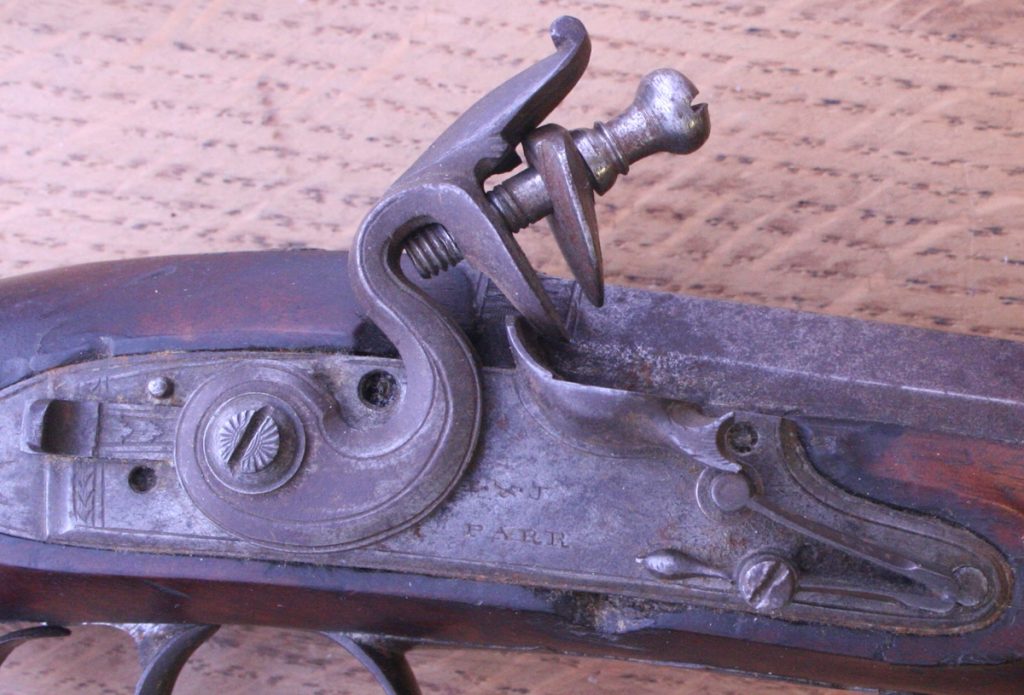 Broken frizzen bracket and chunk missing from stock
An extra screw has been put in the trigger guard strap to hold the broken butt – that will have to be welded up later
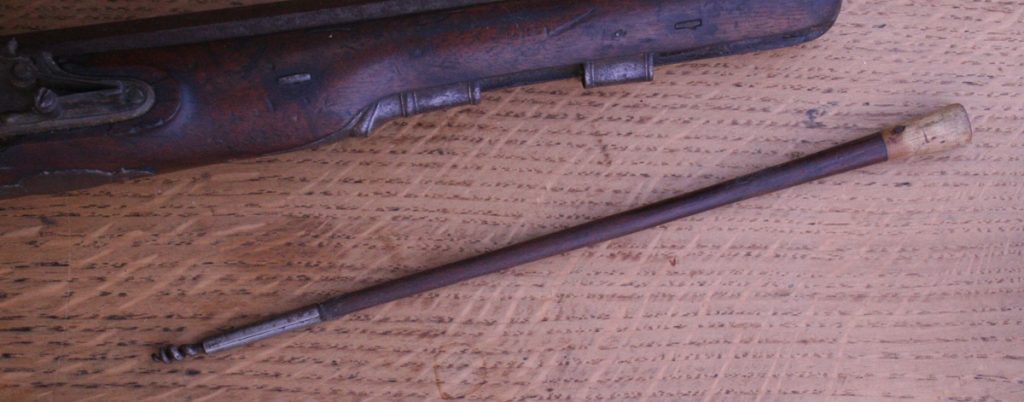
Nice ramrod with worm
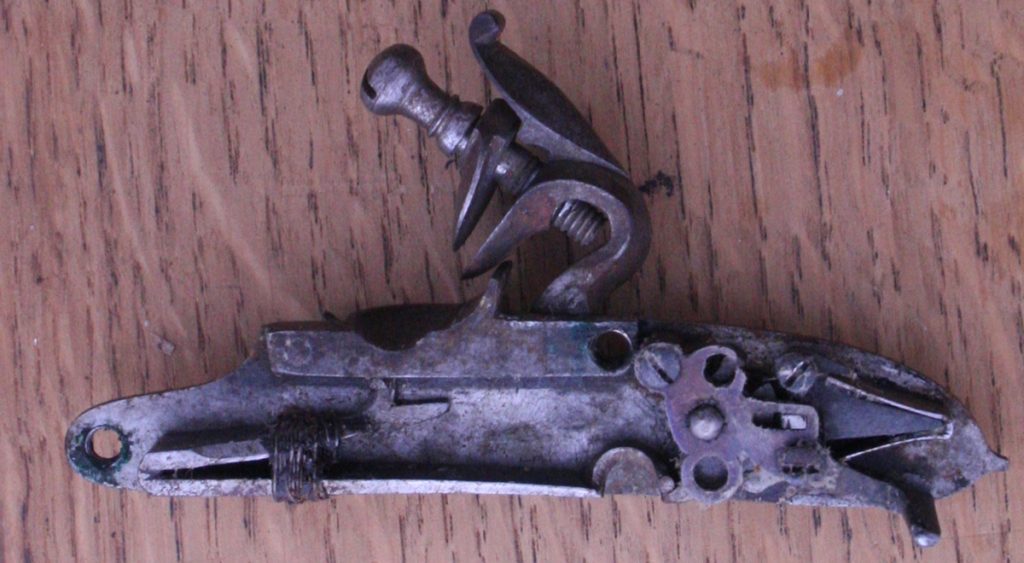
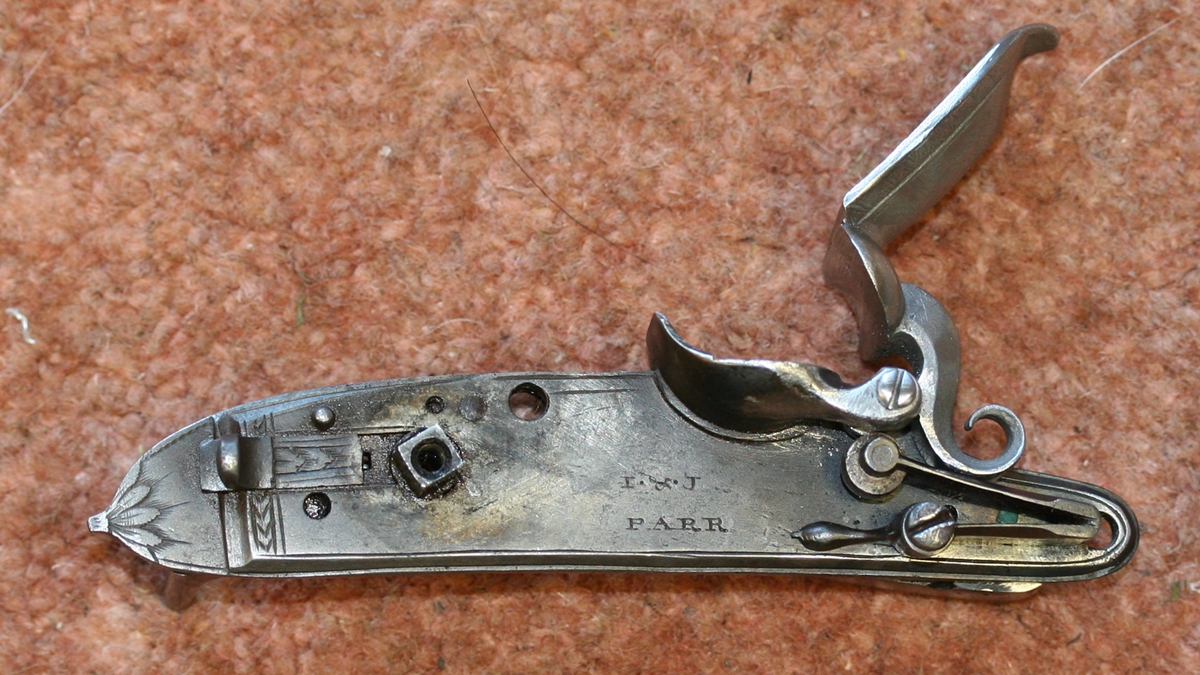
Inside of lock – strange binding round spring!
Here is a list of jobs to do, there will be more!
strip and derust where appropriate – as any patina will be lost in the work I’ll put everything in the electrolytic bath.
Repair butt – needs an insert in the woodwork by the crack and another by the lock – this is Dick’s speciality.
Weld spare hole in trigger guard strap, and build up frizzen pivot and reshape – this will go to Jason as its a bit fiddly for my welding.
Get frizzen casting to match – either from stock or from Blackleys.
Sort out inside of lock as necessary – it does appear to function properly in spite of the missing screws (which are blocked by the tumbler).
? recut some engraving – the finial is a bit tired?
stike off and rebrown barrel.
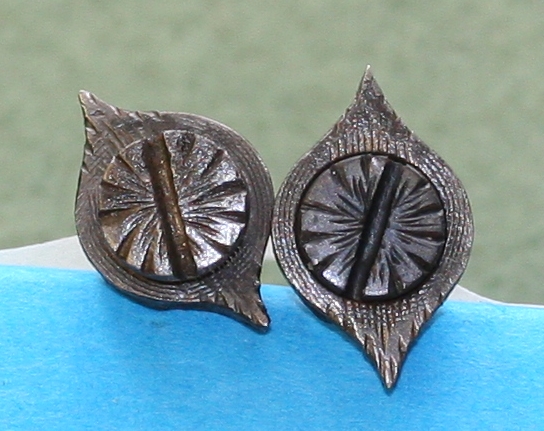
Make new lock screw and engrave.
Progress ….
I stripped the pistol to get at the metalwork – taking great care when driving out the pins holding the trigger guard and false breech so as not to break out the wood. All the metal parts were then dumped straight into the electrolytic derusting bath and given an hour or so – a couple of hours in the case of the barrel which had some patches of serious rust. The lock came out very clean with all the screws free – I popped it in the Aga oven for half an hour as a precaution against hydrogen embrittlement of the springs – it probably tempered it a bit as it was hotter than I expected ;-
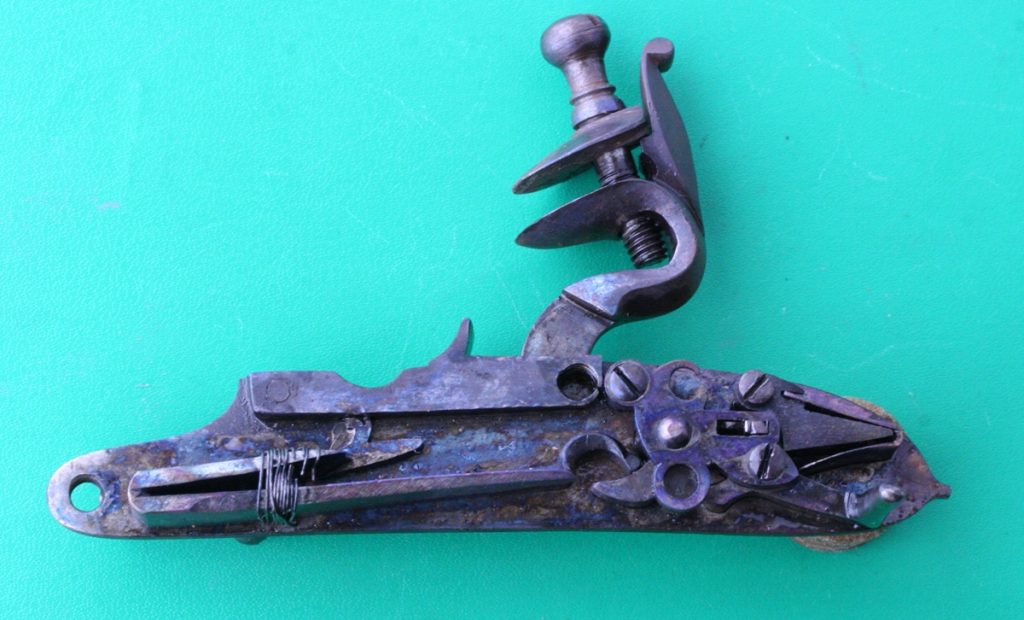
everything is now clean and the screws are all free.
If it wasn’t for the frizzen repair waiting, it could go straight back, even the safety now functions perfectly – just an hour in the bath and a quick rub over with an old toothbrush – no need to strip it down, although I might have a look at that binding – it was either an attempt to alter the spring tension or to space the spring arm away from the lock plate.
False breech – derust and light brush over on the fine wire brush to polish it- now perfect.
By the time the barrel and triggerguard are cleaned it will probably have taken about an hour of my time so far.
I’ll take it over to Dick’s after I’ve done my science club, and he can have a look at the woodwork needed…….
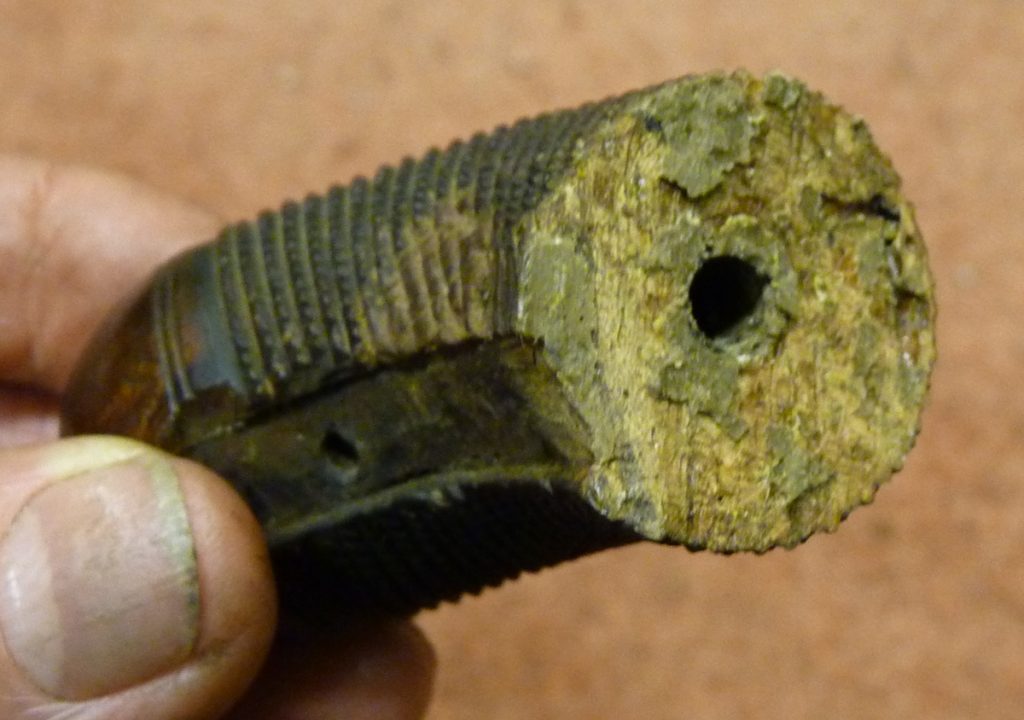
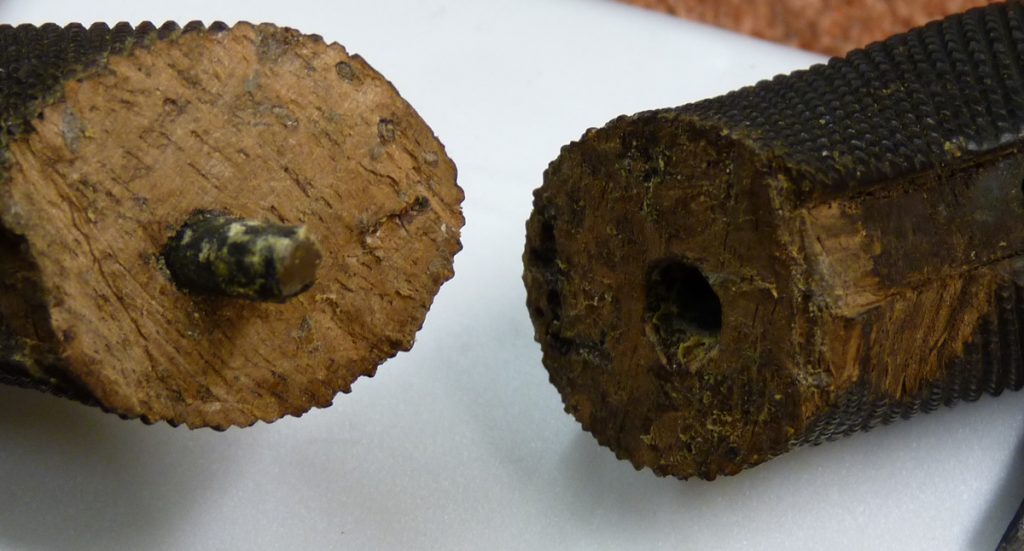
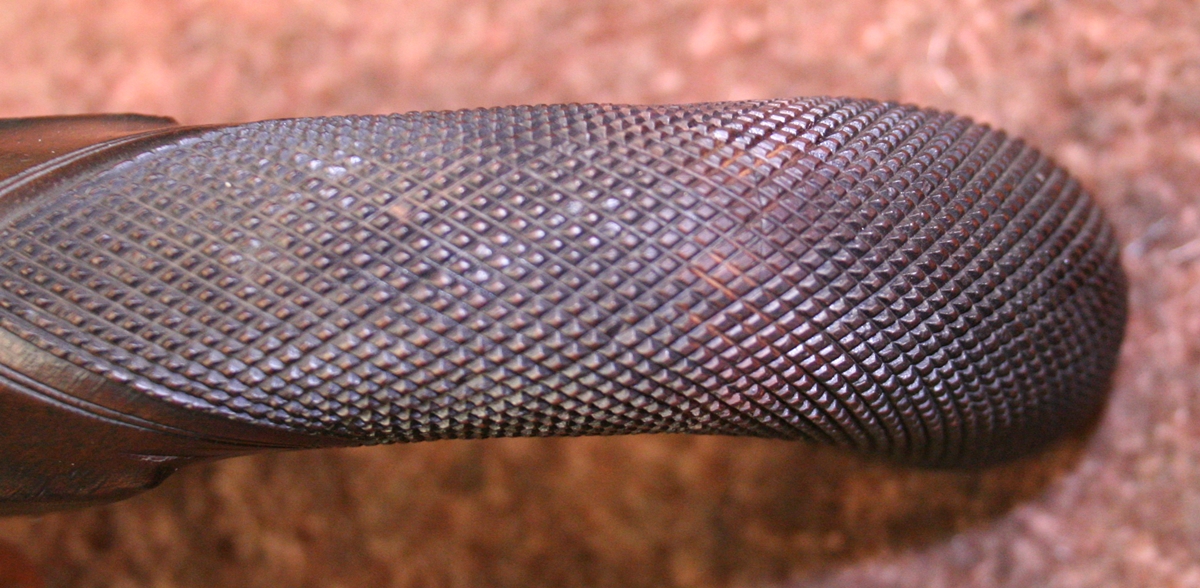
We had a look at the butt – the joint was kept apart by a hard glue/filler that had to be picked off – there is a bit of rod in the joint that locates it fairly well – Dick will probably machine out a slot under the trigger guard to put in a splint and then make the joint with an epoxy/walnut dust filler and let in a bit of wood to replace the bit that was just filler. It is important to get the chequering precisely matching across the joint so it will probably need careful jigging.
We had a look for a suitable frizzen, but the one that fitted best will need a bit of reshaping as the pivot hole is about 3 mm to far back – we will get the pivot on the lock straightened and built up with weld and the sheared off pivot pin removed and drilled etc before we cut and weld the frizzen to fit – not a good idea to be working on 2 bits that need to fit at the same time!
Dick visited Jason, our specialist welder, to get the PARR broken frizzen bearing built up ;-
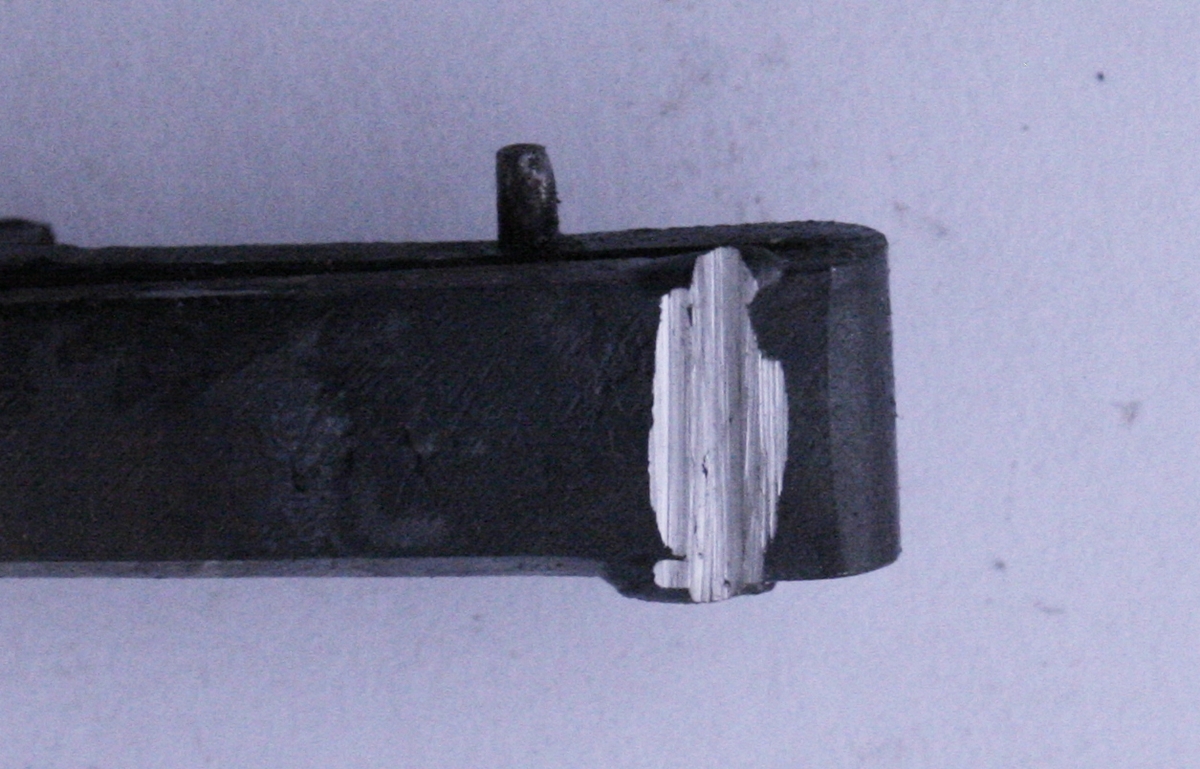
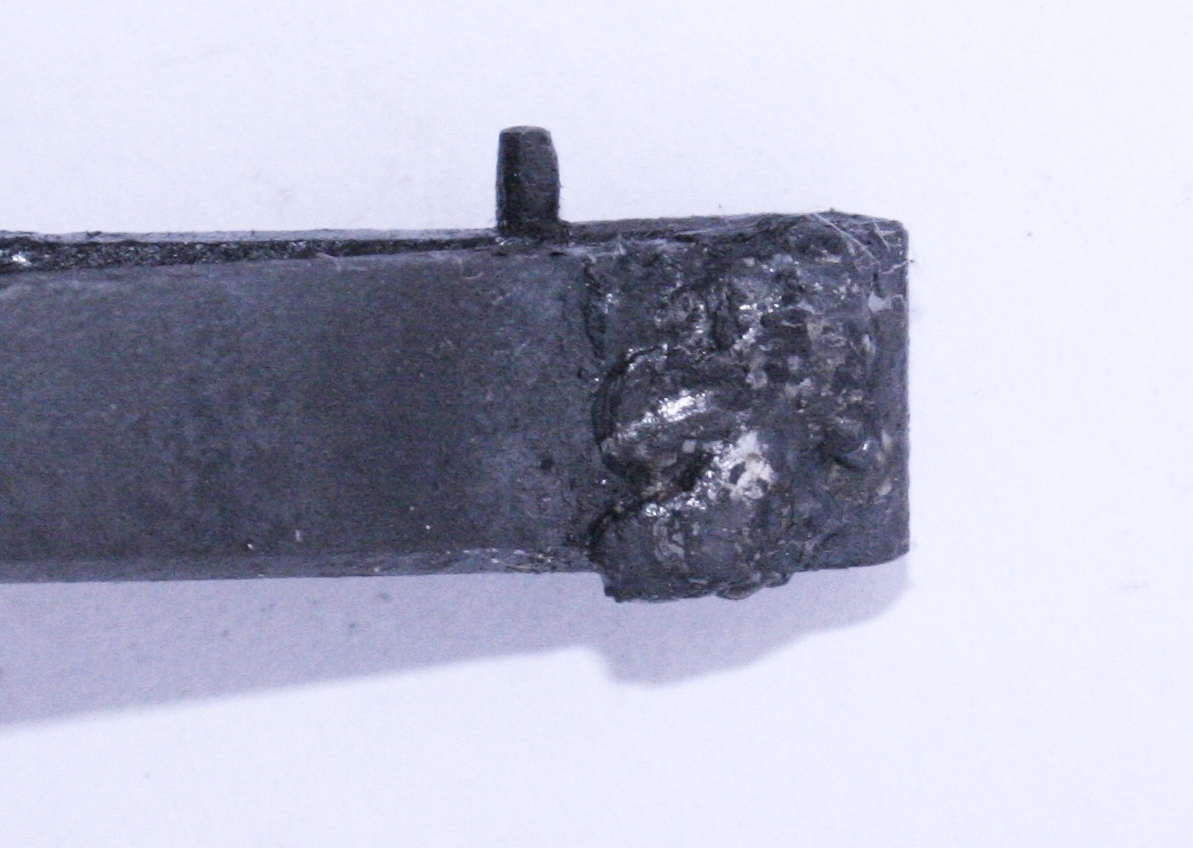
Fortunately the frizzen screw piece that was left in the lockplate came out easily – now a matter of getting the alignment right, cleaning up the weld and drilling a new hole in the weld blob – at which point we shall see if there is enough new buildup to do the job – its always a challenge, whether to put a great big blob and have to file it all down, or try for the minimum blob. If I do it I have to go for the big blob approach becasue I can’t do the fine stuff!
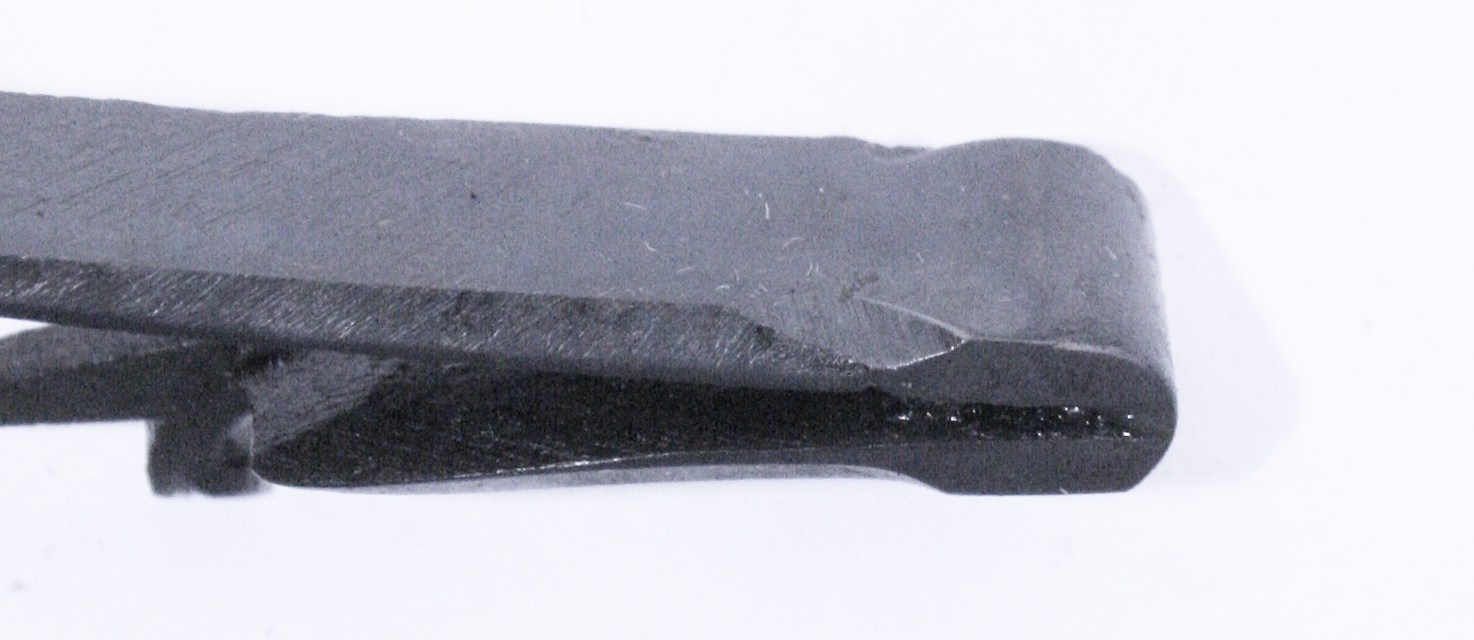
Neat job as usual, but the arm may need to be heated up near the pan and bent inwards as it looks a bit wrong. Dick is planning to do that shortly – once the blob has been filed it will be possible to see if its big enough.
The answer is, its not quite big enough and it has a few bubbles – always a problem with old, high carbon steel
While Dick was stripping the Parr the mainspring cracked – or was probably already cracked, so I offered to weld it – this is what I did;-
Fortunately t hadn’t come apart, so first I put a dab of weld on each side of the spring to hold it together
Then I prized open the spring to the correct shape and ground out the break with a 1 mm cutting disk on an angle grinder before welding it. Fortunately the blobs on each side held it together and spared me having to jig it up.
This allowed me to get the weld well into the crack & fill it with a piano wire filler rod. I got the join nicely red hot and decided to oil harden it by quenching it in oil while I had it in that state. I then put it on top of the Aga hotplate which is about the right temper for springs – mid blue. Then of course I couldn’t file the surplus weld off, so I ground it on a wheel and on my diamond hones and finished it with my 3M fine abrasive disk – Then I did another while on top of the Aga to colour it a bit.
I ground off the bevel a bit inaccurately, but we shall see if it works – I don’t have the PARR here at the moment.
p.s. It didn’t, but broke when I clamped it up to fit it, so I rewelded it very carefully, and annealed it thoroughly on the Aga hotplate at about 320C for an hour. I wasn’t convinced that the blue was deep enough blue for a spring temper, so I put the spring in a shallow tin with about 5mm of oil and burnt it off. Of course, you can never tell what colour temperature this method actually achieves.
Anyway the spring now appears to work, although it may need the hole for its peg moved away from the lock edge….
Here are the photos of the woodwork and frizzen to date;-
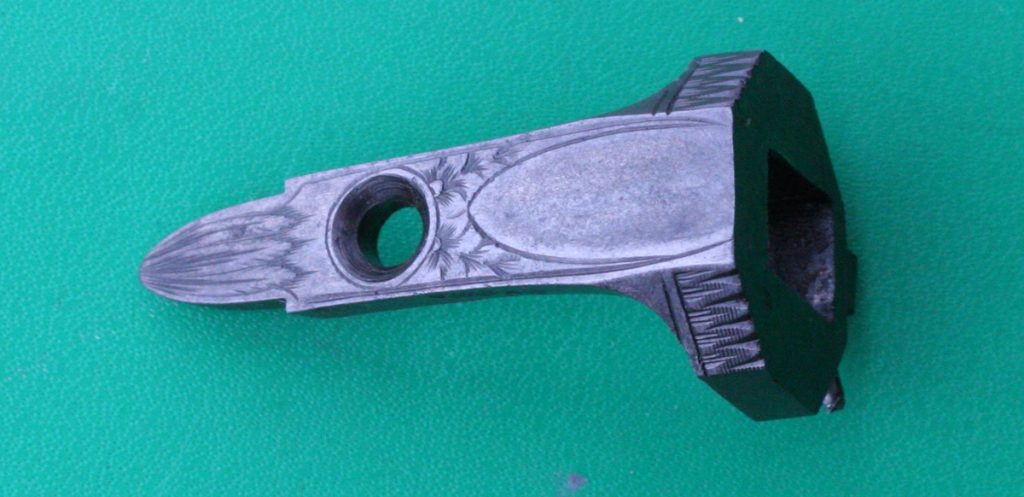
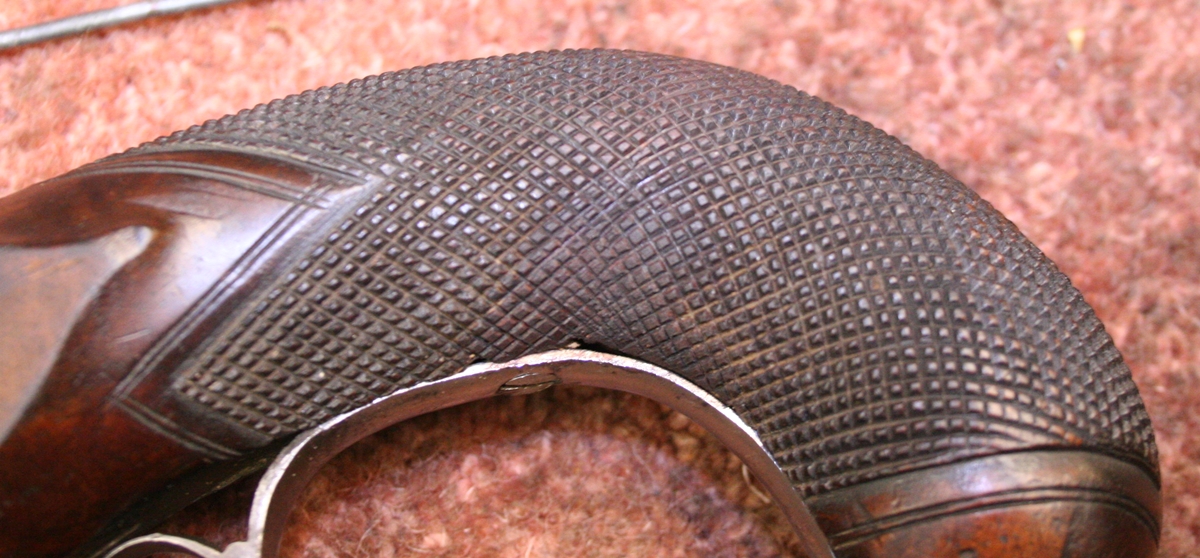
Following the chequering round the inside of the repair was a bit of a contortion! Dick cut the last bit off the end of the trigger guard tang and had a piece welded on – easier than trying to fill the hole. It needs final fitting.
The chequering perfectly hides the repair – just needs a little colouring down at the end
Neat repair of the lock pocket
Sideplate area cleaned up – again it needs a little toning down for the final finish
Dick found a frizzen in his box of bits that is a surprisingly good fit – it needs a little fettling around the back edge where it touches the pan.
Tidying up the woodwork and removing the worst of the dings – its beginning to look very good!
( I ought to get Dick to hoover the carpet in his workshop!)
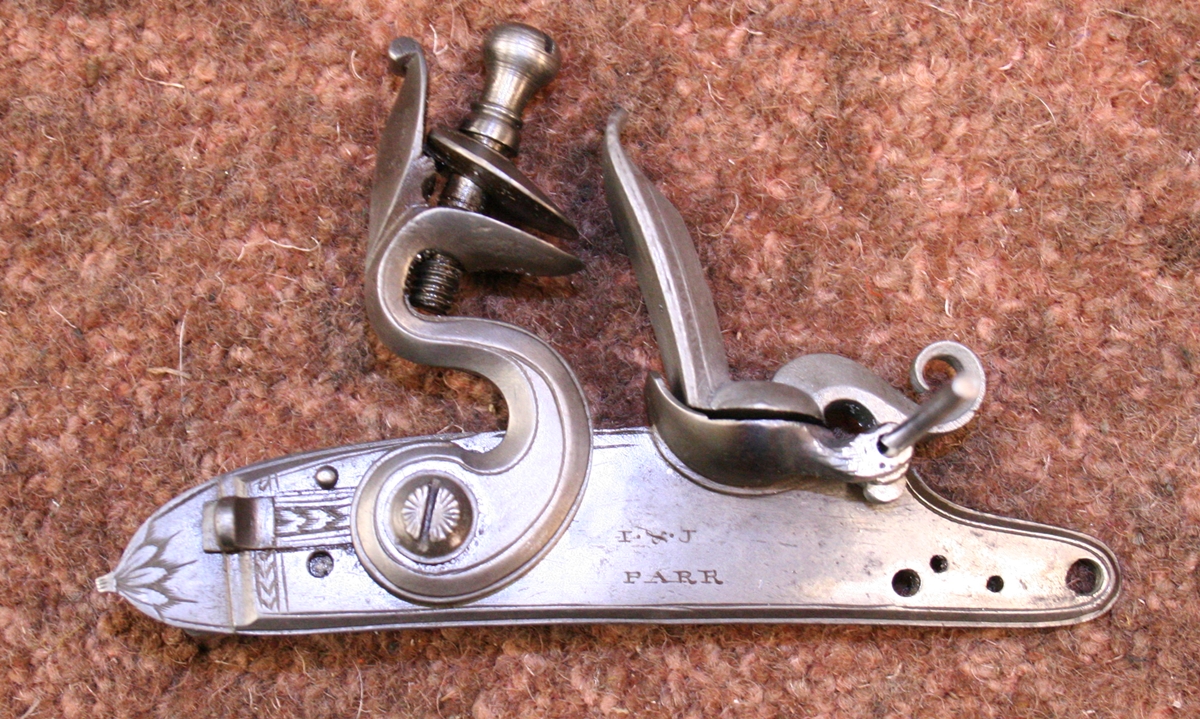
Rather than go back to Jason to get the frizzen pivot rewelded Dick had a go with his oxy-acetylene kit and got a very good result – the mainspring sticks down a bit – and will be sorted, after which I’ll re-engrave the frizzen bracket to match the original.
Jobs left to do include – sort the mainspring position, engrave round the frizzen pivot and frizzen, rebrowning the barrel and evening out the colour and finish on the woodwork and frizzen. We will then make an estimate of the time taken….
Dick moved the hole for the mainspring peg up a bit so that the spring didn’t hang below the edge of the lock and peened a peg in to fill the old hole – as used to be done before TIG welding came along, I did the bit of engraving on the frizzen pivot and Dick made a new side nail to match the surviving one, and I engraved and coloured it so its almost identical;-
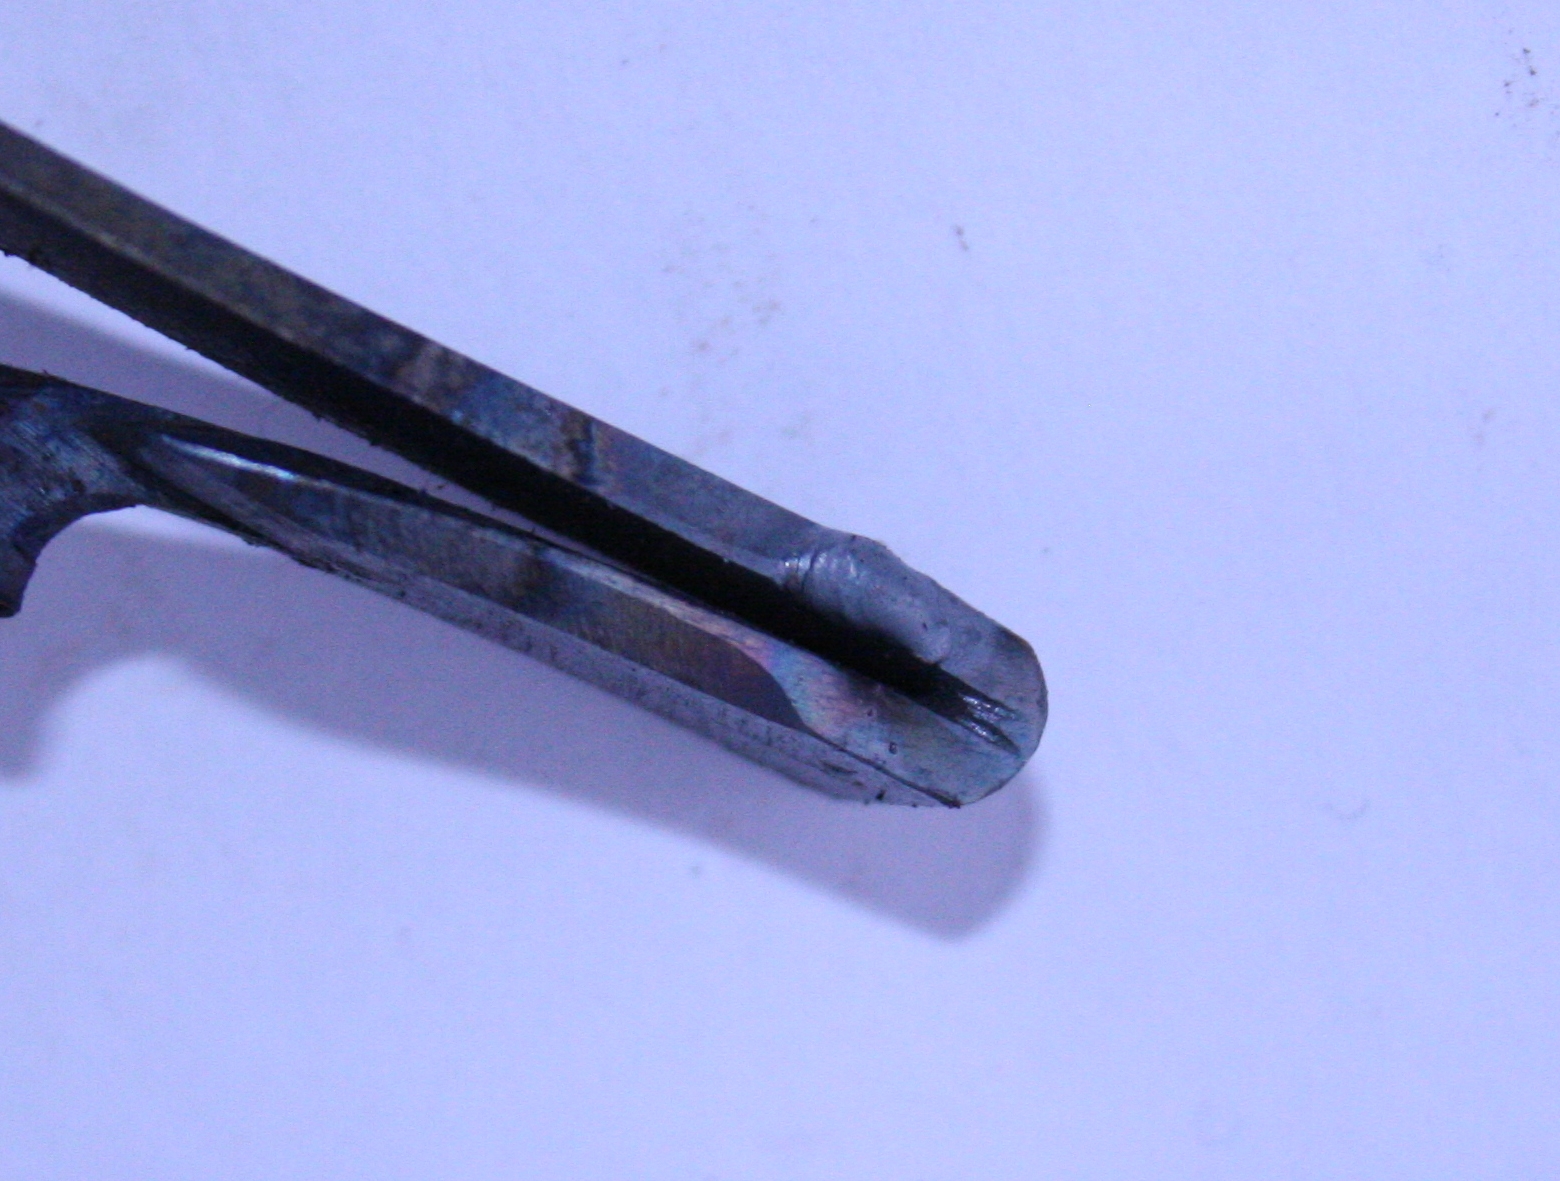
We decided that the top jaw wasn’t right, so Dick made a new one from a piece of plate – it looks much better, and holds a flint well _ need to remember to take Dick a handful of old flints – one of my shooting friends gave me a box full of used flints that are ideal for restorations.
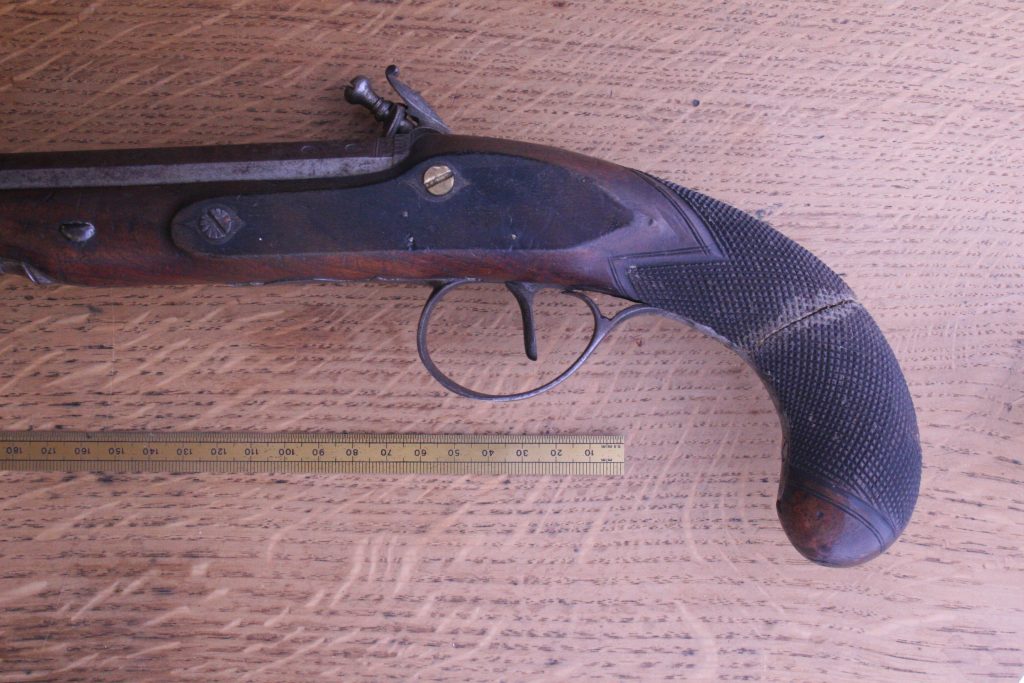
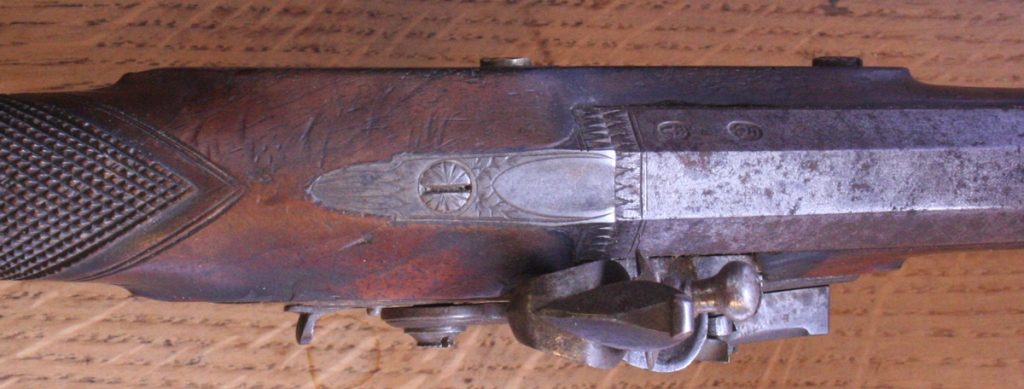
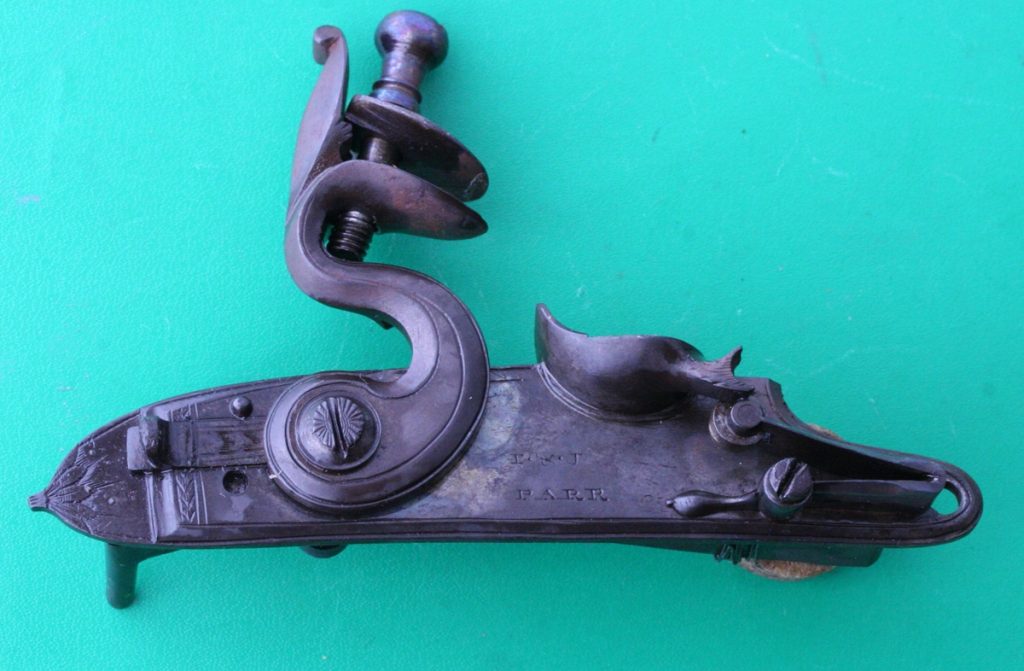
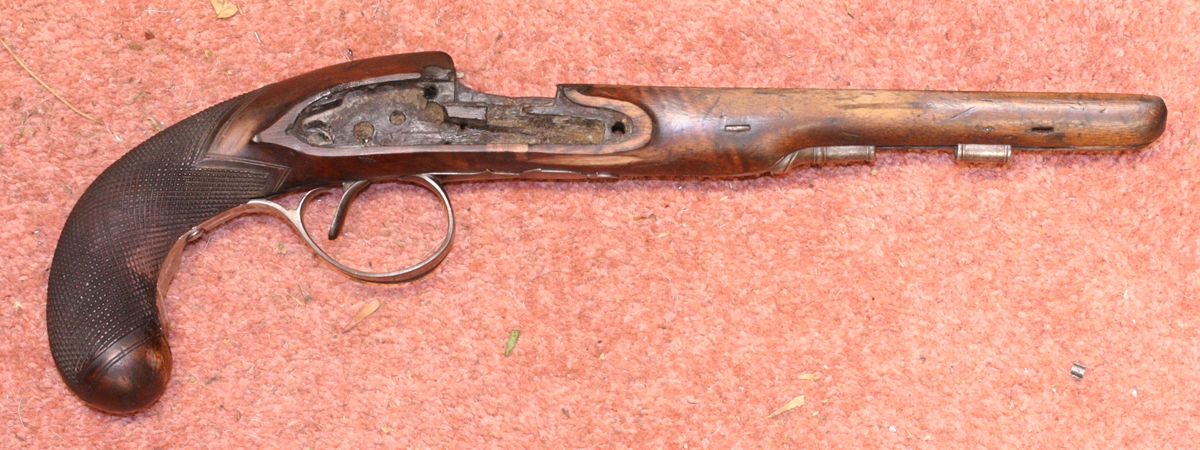
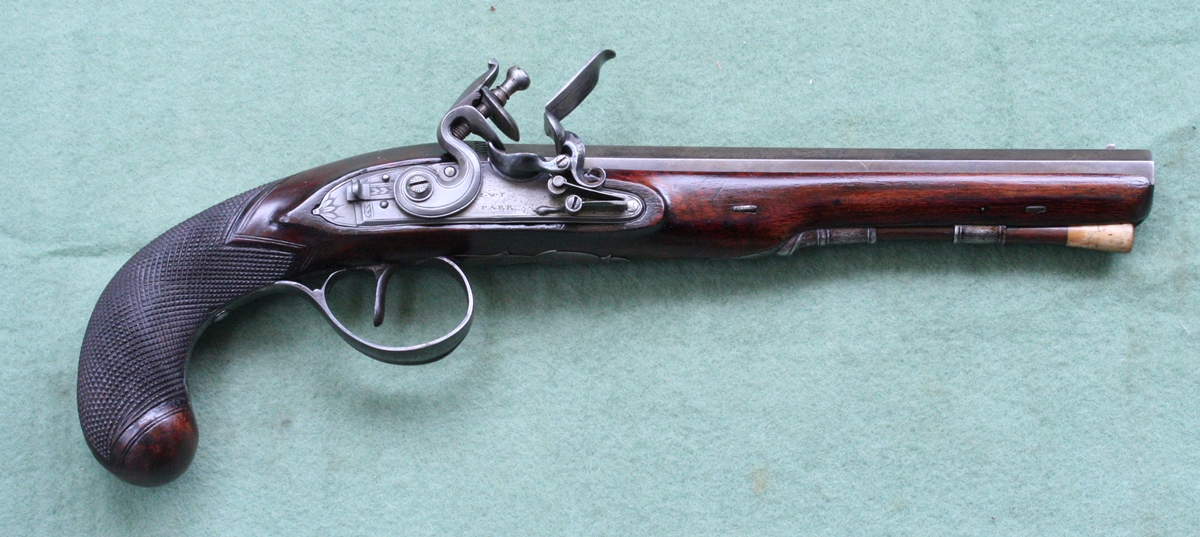
Its completed, and looking very good ( but I forgot to take him any flints!) ;-
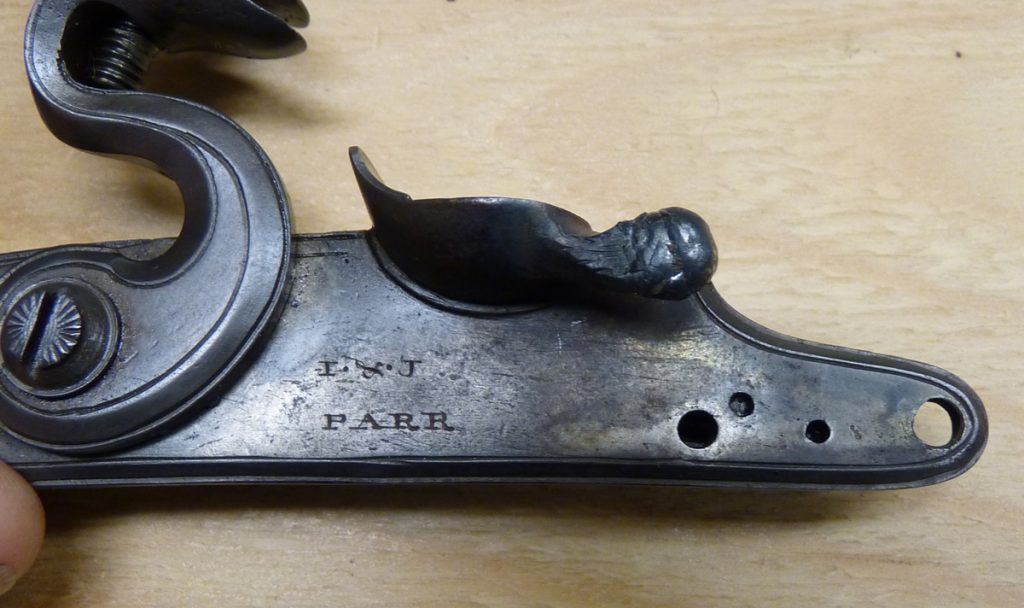
As you can see its come out very well, and is a pretty genuine pistol – the repairs put right a few specific faults, but overall the pistol was very good and original. Dick and I were very careful when I bought it for this project to make sure that it was basically sound and without any pitting or serious rust, so that we didn’t have to resurface metalwork and spoil the clarity of it. You’ll see that the initials before the name are a bit faint – we did discuss recutting them subtly, but as they are, they show that the surface of the lock is original.
We found that when we came to fix a flint, the top jaw screw was a bit worn and loose and wouldn’t hold a flint, so Dick remade the screw with a 1 B.A. thread.
Its now sold to a serious collector.



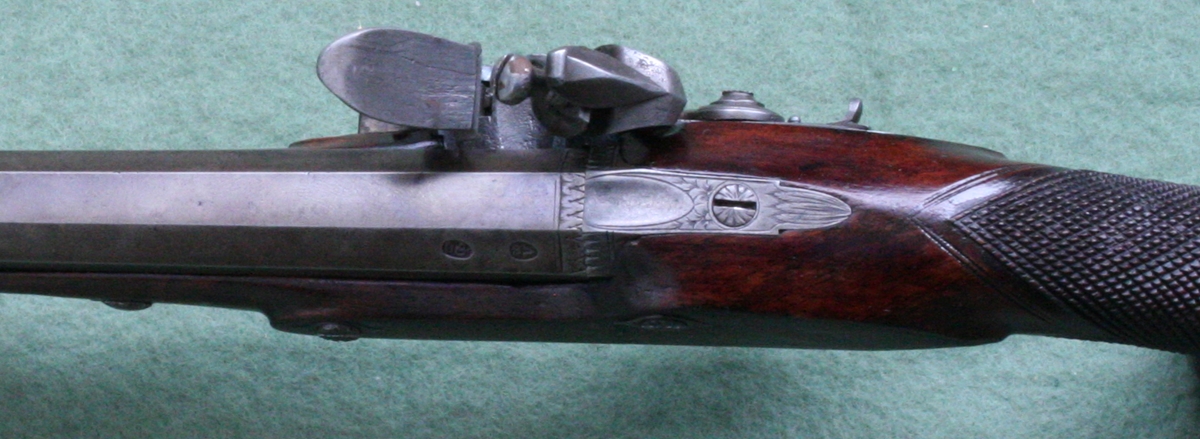
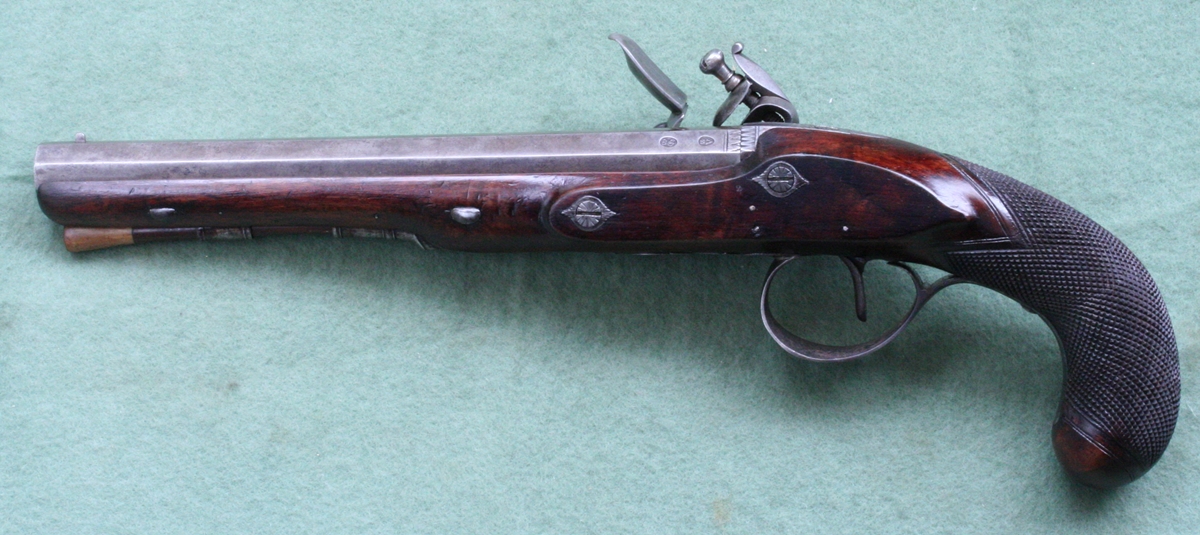
What a great end result! The pistols looks superb! I was a bit late to the party in buying it but whoever is the lucky person, well done.
Great work. I love following these posts.
Hi Nick, Thanks – it did turn out well! We were lucky to find it, sorry you missed out.
We’ll be looking for more to do up and sell on.
I’m glad you enjoy the site – I’ll do my best to keep up the restorations!
Tim
The top jaw looks too small. Is it original?
Mike
Hi Mike,
We anguished about the cock and the topjaw – I would agree that the topjaw is probably a poor replacement – I don’t have it here so I cant’check carefully again…
One learns that it is very difficult to be certain of anything in this business!
Tim
Any developments? I would love to see the finished piece! 😉
Hi Nick,
More will follow, but this is a joint project between Dick and I and our very expert TIG welder was on another job. We needed him to do the broken frizzen bearing – I think he has now done it but I’ve been in Scotland. All will be revealed in due course!
Tim
I wonder whether the binding is an attempt to stop the spring slipping off the bottom of the tumbler. This obviously would not have happened when new, but over the years with various repairs etc this may have become an issue
Hi Bev,
The engagement on the tumbler is very positive and the stop on the cock is fine – the lock looks OK and pretty unworn – Dick and I had a look and took the binding off – it was quite thin wire and didn’t appear to be strong enough to alter the spring properties much – quite a lot of the strands crossed over between the leaves of the lock so were not really under tension. We did wonder if it was intended to hold the spring against the lockplate but it wasn’t fixed to anything – just wound round and through the spring. The lock appears to function perfectly without it although we haven’t snapped it off – there is an extra, empty hole in the lockplate near the pin on the spring but of somewhat larger diameter, and a smaller hole too. But the spring appears to be original, or at least it fits the recess in the top bar of the lock…
The only possible clue was that the spring was a bit bowed and touched the lockplate at the tumbler and at the apex but was about 1/3 mm off where the binding was.
A puzzle…
Tim
This is a nice honest pistol and it deserves a second chance. When Dick is finished with it, it will have that chance and a proud owner. Most of it will be original after all that work, Even better!
Hi Fred,
I saw the Smith at Dicks – its a lot better than I thought – wish I had bought it! Will make a fine flintlock if Dick can get the bits!
Tim