Here is an account of my test project to compare 2 different browning solutions and 2 processes;
The definitive book on barrel browning is ‘Firearms Blueing and Browning’ byR.H.Angier published in 1936. It contains around a hundred different recipes for mixes of chemicals that have been used for Blueing and Browning and Blacking gun barrels, and offers claims of subtle differences in the colours achieved.
I have to admit some skepticism when it comes to all the claimed differences – after all, browning or blueing are ultimately just the formation of oxides of iron on the outside of the metal by conversion of part of the outer layer, and there are basically just two iron oxides that form on iron and steel – ferrous oxide – better known as rust and of a ginger to red colour, and ferric oxide which is pretty dull black and these oxides are the main ingredient of the converted layer. The pattern seen on twist barrels is the result of the metal being inhomogeneous – made up of bands of iron with varying amounts of carbon incorporated so that the result is a mixture of iron and steel, which are both converted to oxides at a different rate, and possibly to slightly different oxide mixtures, thus allowing the browning process to make the metal structure more visible. Having said that, there are differences due to the addition of other chemicals – in particular copper and mercury seem to be the most common additives to the basic solution, which will generally consist of an acid ( hydrochloric or nitric) and/or ferric chloride which itself attacks iron and steel in acidic solution. To complicate matters dyes may be added to the water that barrels are boiled in, particularly logwood chips are used.
My own experience is that the biggest difference achieved by different solutions and processes is where in the rust red to black spectrum the result sits, and this depends not just on the chemicals used but on the process – I think that steaming or putting in boiling water moves the colour in the direction of ferric – black colour, repeated steamings at each rusting seem to have the strongest effect and yield a grey black result, whereas boiling the barrel at the end of the browning has less effect.
For this experiment I’m doing 6 different tests,
1) Blackley’s Slow brown solution only
2) The same but with steaming at each rusting
3) a composite of Blackley’s and my solution, mostly Blackleys
4) The same but steamed each time
5) My used printed circuit solution, heavily diluted – but I’m not sure by how much – could probably stand more dilution!
6) the same steamed between each rusting.
All rustings done in my cellar – cool and 60% humidity despite heat wave! Solutions were applied to the cold tubes with a small ( 30mm cube) piece of sponge that wetted the tube surface but didn’t form drips or runs. They were hung vertically in free air with my solution at the bottom – there was one rusting hanging in a tub with a bowl of hot water under the barrels, but that condensed on the barrels and led to drips so was abandoned. Rust was removed by rubbing with 0000 grade wire wool, a new piece for each tube. I wore nitrile gloves when handling the tubes and the solutions.
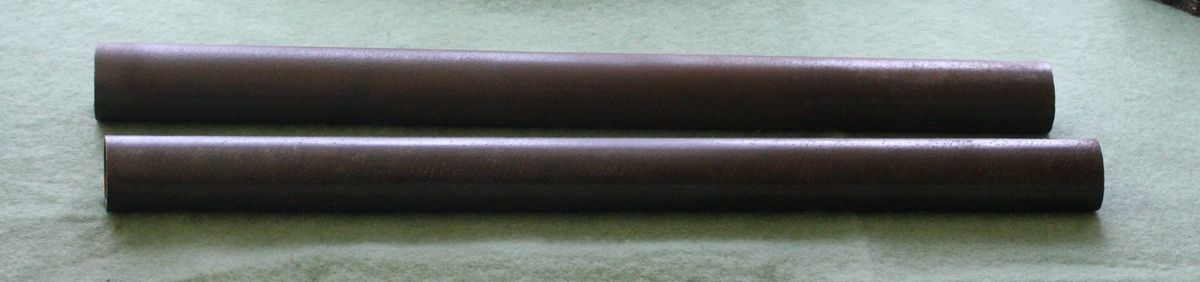
For this experiment I have 2 lengths of twist barrel, each divided up into 3 sections by plastic tape and fitted with a wooden handle. They have been sanded in a lathe using 240 grit and 400 grit and then polished on a fibre wheel and finished with 2000 grade paper by hand. I haven’t bothered to file out all the rust – just enough to let you see a good surface in some places.

Original rusty tubes.
After electrolytic derusting and fine wire brushing.
Sanded to 2000 grit, front tube shown with chalk degreasing
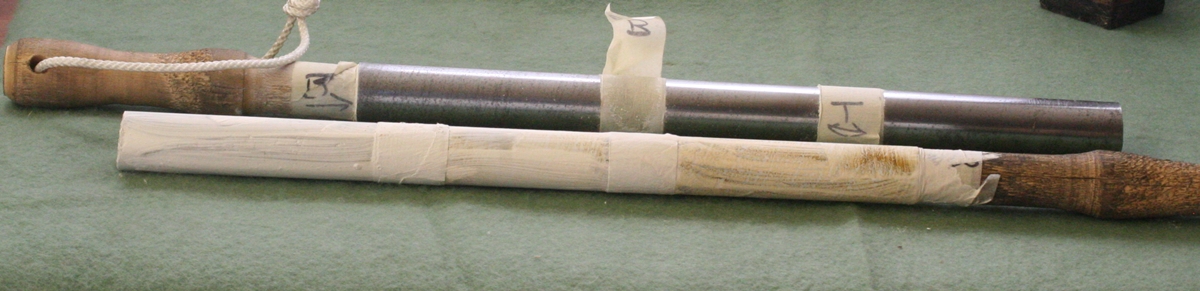
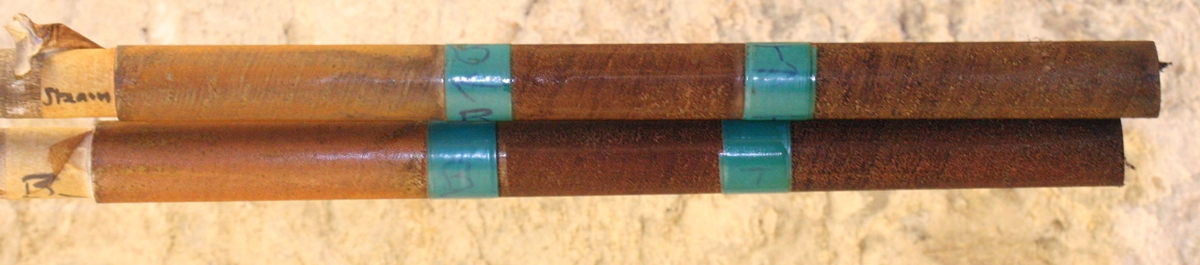
1st browning, two sections on the left are Blackley Slow Brown, my solution is the right section, rusting complete
1st browning, two sections on the left are Blackley Slow Brown, my solution is the right section. 0000 wire wool on both, back tube steamed – very strong black/blue with my solution when steamed!
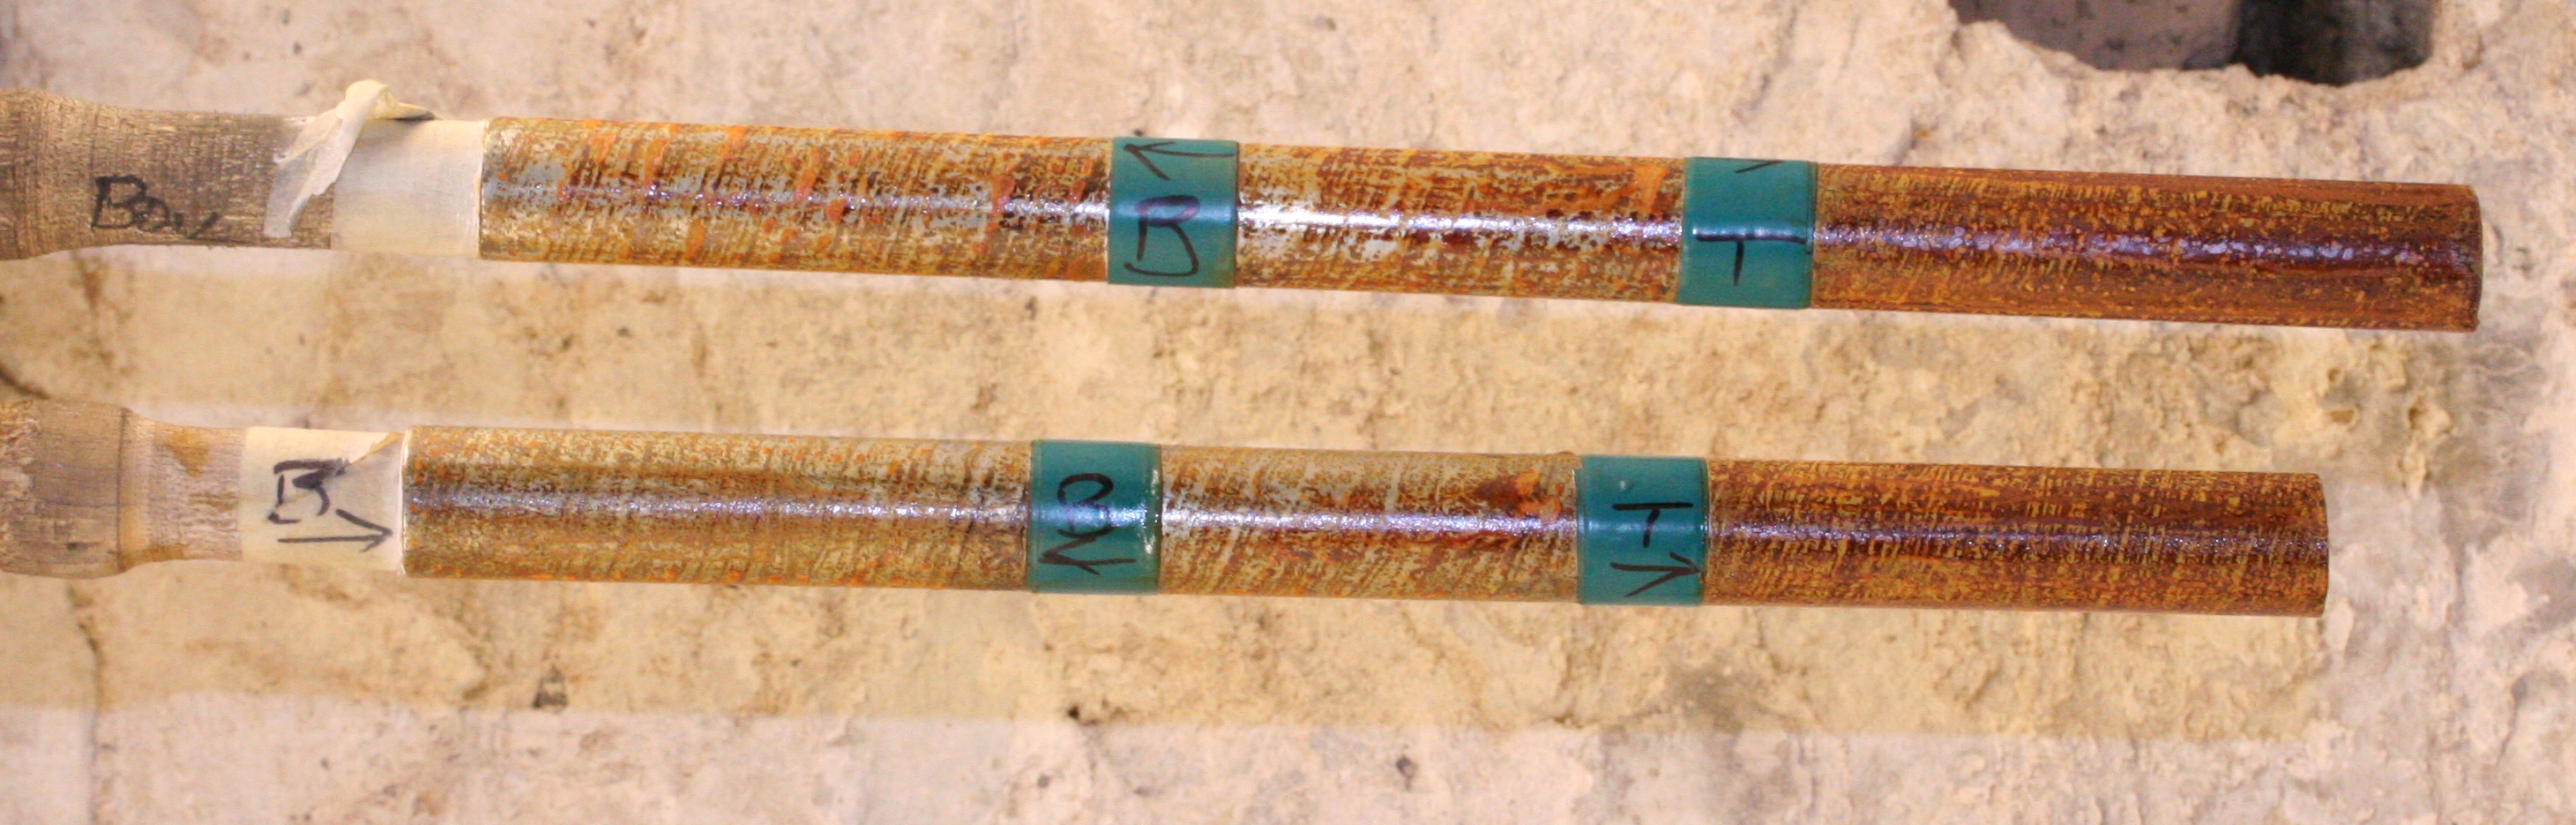
4th rusting untouched
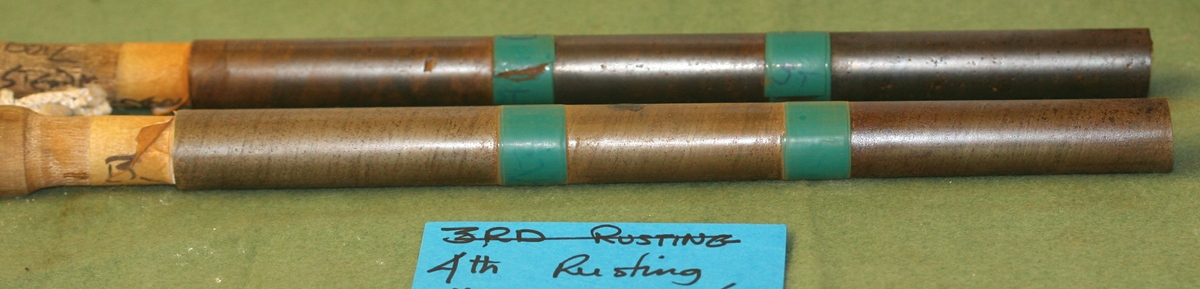
4th rusting – back barrel is steamed , Blackleys Slow Brown on the left – mine on the right
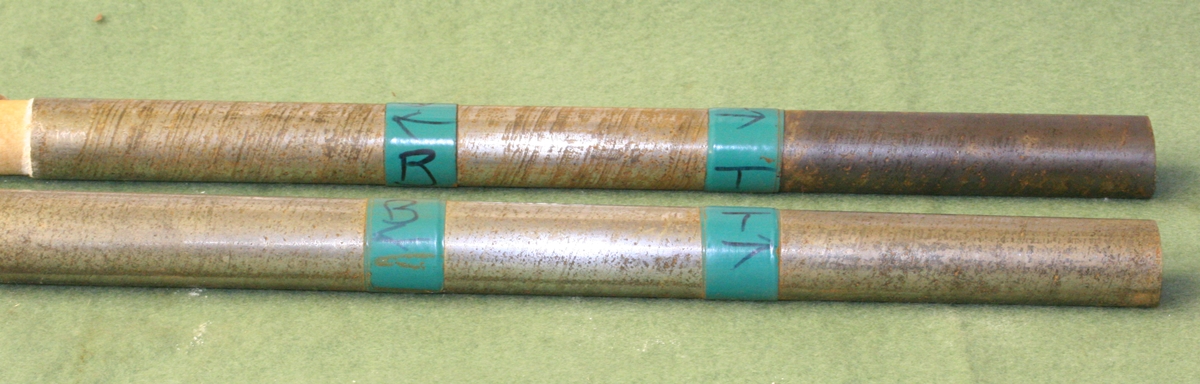
At this point I stopped the rusting of the steamed barrel, re-steamed it and waxed it with beeswax. I did two more rusting of the unstreamed barrel using Blackley’s for all sections, then seamed that once to clean it Here is the final result;-
 .The barrel at the back is the one that was steamed every rusting for its 4 rustings , the one at the front was only steamed after its 6th rusting. The middle sections only had a single application of Tim’s browning solution, the right section was Tim’s for the first 4, then the front barrel got a cpuple of Blackley’s Slow Brown on all sections. Each rusting was followed by rubbing down with 0000 steel wool
Conclusions:
I was surprised at how dark my used PCB solution made the oxide layer – at times when rusting it looked blue black, and even after steaming and another rusting with Blackley’s the rust had a different appearance. I suspect that my solution needs to be diluted considerably more to make it more controllable, unless you are going for a black finish.
It is pretty clear that the presence of copper in my solution is the reason for its dramatic darkening effect, and I observed that whereas the Blackley’s solution had difficulty in attacking the surface of some parts of the twist so that it resulted in a strong pattern, my solution went for all of the surface and didn’t give so much difference between different metals in the twist. On the other hand mine does add some very nice dark tones if used sparingly, particularly if steamed.
Steaming between rustings doesn’t seem to change the actual colour of Blackley’s much, but speeds things up – you get the same tone with 4 rustings steamed as with 6 or more unsteamed – but the steamed sample has a bit more depth and character, the unsteamed looks a bit flat in the flesh – the photos don’t quite show all the tones. I think with mine steaming does accelerate the process and possibly darken the colour a bit more.
In my judgement, the best result for most purposes is mostly Blackley’s but a light use of mine, maybe 1 in 4, and maybe a bit more dilute, and steamed between each rusting for speed and to bring out the contrassts. The nicest results are the 4 Blackley rustings steamed each time, and the 5 Blackleys, 1 Tims unsteamed – make what you will of that.
But my solution is ideal for old black barrels!
One caution – I didn’t scrub off all the rust from my solution at the end of the tube and by the tape sufficiently well, and some of the rustings were left a bit long for my solution, although OK for the Blackley’s rusting. The result is some marking of the surface that doesn’t come off with 0000 grade wire wool.
I’ll now have a look at Angier’s book and see if I can work out a good browning mix that can be made at home to simulate used PCB etchant using Ferric Chloride and copper………
Then I’ll have to get another piece of barrel to test it!